Showing posts with label gun. Show all posts

Monday, February 20, 2012

Alternate Weapon Ideas For A Strike Rouge

Still fiddling with Gundam kits at the moment. I had recently bought the Strike Rouge and Skygrasper/Aile Striker set. A month or so later, I finally completed it in a state that I'd consider "partially acceptable". There's plenty of reviews about the kit, so I'll spare you the crappy assault of "build progress" photos and "poseability" photos demonstrating how the articulation works. This is the Vortex! Only useless information that no one wants will be shared here!

For the inquiring minds, the PG Strike (and presumably all other Perfect Grade kits) stand roughly 12" tall, which conveniently is the same scale as a 1:6 scale figure. Unfortunately, their hands are quite large and don't translate well to a 1:6 scale figure, and feel more like 1:5 scale hands in size. While off scale, this does provide an opportunity to all you PG Strike owners who want something more desirable in their arsenal than the included beam rifle, shield and shiny sword. What if you wanted to give your Strike Gundam something more... interesting?

Let's put on our thinking glasses and brainstorm! Where else could we find some crap to give our Gundam to use? Stuff that's roughly 1:6 scale, and would be used by a military fighting robot? 
 
 To the gun rack!

 Since the hands are a bit larger than 1:6 scale, the Strike is limited in gun options. Guns like the M-4/M-16 with small thin grips are almost out of the question. Even if you happen to have one that sort of works, the fingers tend to overhang the trigger guard, so you end up like the Heavy Weapons guy holding... practically anything other than the minigun. My solution was to cup the grip with just the fingers, and that placed the trigger finger around the right area so it doesn't look oversized.

Guns with a stock work well, as the grip occupies more space in the hand, allowing you to use the thumb more. So if you want to give your Strike some 1:6 scale guns, stuff like hunting rifles, shotguns and the like work well. Pistol grip weapons, not so much. I'm certain that a MK23 or a desert eagle would fit nicely. A Tokarev... not so well. I also tried out the MGL, and that didn't work. The fingers just didn't want to work with it.

Now, what about heavy weapons?

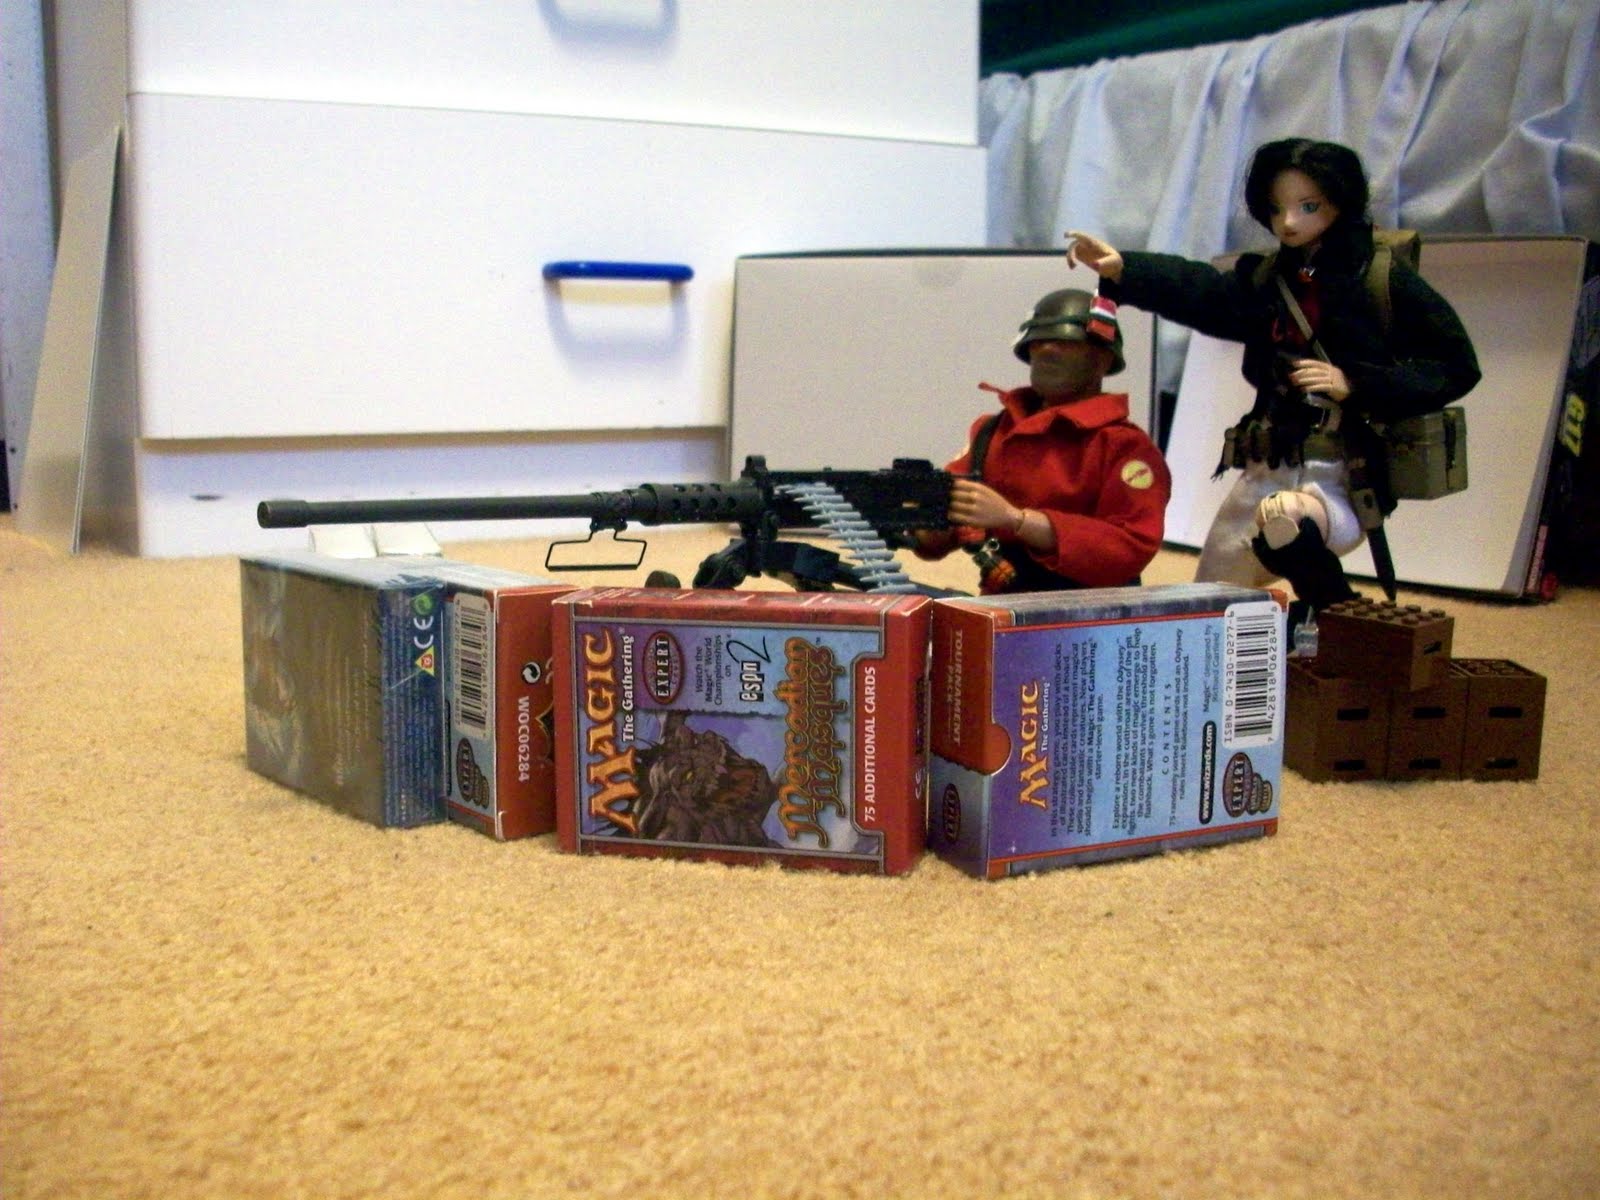
The Strike's hands seem to fit a Dragon Browning M2HB quite well. All four fingers fit around the rear handles and the thumbs are close enough for the trigger. However, the main issue with giving your Strike the M2HB is that you really need to put your Strike in a trench. It can do some prone poses, but not enough to make the M2 work without putting the gun a little higher. Not quite a satisfactory addition. It's acceptable if you wanted to make a support gunner out of your Strike. 


After a long while, I finally found a use for my ZACCA bazookas. They look great on the Strike Rouge, and the size fits nicely. However, there's a significant problem with giving 1:6 scale bazookas to a PG Gundam, and that's related to how their hands work. They don't have enough wrist articulation like you get out of most 1:6 scale human bodies. They're on ball joints, so you have a limited cone of range whereas human figures get wrists that can almost go 180 degrees. That makes most bazookas unsuitable for a Gundam.

I tried out most of the bazookas/rocket launchers I had and found a lot of not-at-all surprising results. I took photos of the ones that worked best.
 
Soldiers of the World/ZACCA M20A1: mediocre. Hands fit around the trigger perfectly, but the limited wrist motion prevents you from holding them correctly. Shoulder armor interferes with the shoulder rest, so you'll need to be creative with your poses.
 
ZACCA Panzerfaust 3: Great.  Nothing interferes, and there's enough range of motion to hold it properly. Can almost look down the scope as well.


ZACCA M136 AT-4: Great. Since you hold it with one hand on top, the oversize hands for the Strike work well. The front grip's easy to hold. The shoulder strap should be glued together on the AT-4, but otherwise a good addition to the Strike. It's one of the more elegant rocket launchers you could have in your collection.

 ZACCA Panzerschreck: Mediocre. You're going to have to hold this with one hand like the M20A1.  No chance in hell you can get the second hand to hold it in any decent manner. Looks great, but you just can't hold the thing. This is where a better wrist motion would help a lot.

Other notes:
I couldn't get the FIM-92, FIM-43 or the SA-18 to work due to the wrists. If you wanted a Strike Stinger combo, it'll look awkward. Don't even bother with panzerfausts. Other models from the ZACCA collection simply didn't work due to the shoulder armor interfering.

There's one outlet left for 1:6 scale weapons: Melee!

Let's say you felt the Grand Slam sword was a bit lacking, and the beam sabers were pretty dull. We can fix that with a Moonfire/Bloodberry! I did find that the fingers worked well to hold the hilts for my Bloodberry and Moonfire, but unfortunately the Moonfire's weight was too much for the fingers to handle. I had to play with the fingers to get them to clasp shut around the hilt. I could use some blue tack to attempt to hold the sword in place, but you will need to use quite a lot to hold it in place. Moonfire's the heaviest sword I have currently, almost twice the weight of the Grand Slam, and without hand pegs to hold it into place. The hands are capable of holding thin objects such as polearms, so it's feasible to have other swords (much like the Red Frame Astray) without relying on the hand peg.

It's convenient to know that a PG Strike can use about half of the possible 1:6 scale stuff on the market. The biggest problem is the wrists. I would recommend experimenting with other melee weapons than guns or rockets, as they offer the best results. Don't settle for energy blades when you can use a slab of metal to impale your foes.

Sunday, June 19, 2011

J.Norad Reviews: 1:6 scale Dragon Browning M2 Model Kit


Went to Brickworld 2011. Ended up browsing the local shops after lunch and I picked up this: a 2008 Dragon 1:6 scale Browning M2 Heavy Machine Gun model kit. I wanted to add this to the collection for some time (an M2, not particularly this one), and here was my chance. Not quite the best decision I've made regarding model kits, unfortunately.

I've seen one review of this model kit floating around. Not too surprising since not a lot of people review model kits, especially model kits of infantry weaponry. However, I've gone through the joy horror of building this kit to tell you how it really is.

Phase 1: Misinformation
I picked this up at the cost of under $19 at a hobby shop, all ready to get me a heavy machine gun. I opened up the box and beheld the presence of a foul and unholy mass of injection molded plastic and metal. Yes, there's metal. Is it awesome metal, as in "metal barrel and other assorted parts to enhance the flavor and detail"? Hell no! It's the "purely decorative but essential to make the kit annoying to build properly" type. We'll get to that in a bit. First, let's look at the biggest problems with this kit: the instructions.

 Here's the first sheet. Top gives you an overview of the model, same as the box cover. Middle covers the runners and what each part is, in case you cut them all loose and have no idea what they're called afterwards. The bottom covers a painting color guide, which luckily is composed of 5 colors, and only two are essential to the gun. Take note at the grey section on runner set A. That designates parts that are not used in this model. My first question is, "why do you even include parts on the runners if this model doesn't use them?" Second, "what set does this get packaged with that uses these parts?" And lastly, "why the hell are these spare parts not duplicates of essential but potentially fragile parts?"

The answer to these questions is "they're actually used in this model kit, but the instructions writer decided to troll the kit builders who actually bother to look at the sheet". Because, who reads the instructions anyways? Certainly not the 4-13 year olds who buy this model, since this package certainly says that it's for 14 years+ only. We all know that getting a 14 year old to read a book is not particularly easy, so they added a visual instruction sheet with numbers on it. That's what the back side is for!
 
Phase 2: Deception
Side 2 of the instructions is where Dragon likes to whip out the middle finger and also take the time to poke you in the eye. I don't know if they fixed this for subsequent releases, but there's numerous errors with the instructions. I've handily corrected them in red. Notably, I've labeled where the "unused" pieces actually go on the model. Part A19 corresponds to the swivel tripod lever handle. Optional parts A29 and A30 turn out to form the "integral" leg clamp assembly for the right side of the tripod. Of course, you could have figured that out without the drawing by looking at the spot at the end of the leg and then at the runners. The handle isn't integral, but it's actually depicted on the cover photo, if you notice.

Per the numbers, you're supposed to be issued three B17s which correspond to the gun's firing mechanism assembly, and are supposed to glue them into the tripod legs. Great! I always wanted my tripod to shoot holes into the ground so I can have an easier time digging them into the ground. In a pinch, they will also serve to provide a last point of defense for the tripod carrying guy, so he can at least get some shots off. Dragon thought of everything.

Lastly, the instructions conflict with the product photo. The tripod feet per the instructions have the feet one way, and the photo has them the other. Which is correct? The product photo, apparently. I checked with what the actual M3 bipod looks like and it matches the photo, with the spades pointing all the same direction.

Phase 3: Lack of Information
At this point, you can argue that I'm being nit picky and deliberately bashing a decently designed kit for the sake of your entertainment. Now here's the point where Dragon takes their other hand and gives you the finger, and also jams it into your other eye. The METAL PARTS. Nowhere on the kit does it say that you need to have needle nose pliers for this kit. YES you need them. Why? Because the metal parts can't be assembled onto the other parts otherwise. And they're tedious.

The metal parts are all confined to the ammo box lid and a carrying handle on the barrel. The barrel requires you to clamp the loops tight otherwise they'll come off. Not too bad. Next part are the lid handle hinges. You'll need to pry them apart to fit them around the lid loops, then close them while the strap is in the hinges. I have decent dexterity and I had issues keeping the parts aligned while I clamped the loops closed.

 Last is this little gem here.
 The ammo box locking plate. It's a metal plate with a metal C that goes through it. They come separated and must be assembled together as shown above. Keep in mind the C hinge piece comes bent as a C and not straight. In order to get the part through the holes in the plate, you must unbend the part, thread it through and re-bend it. It's like unbending a paperclip and trying to bend it back so it looks the same. Doesn't happen, unless you're good. Mine still came out semi crooked.


My last point of the model kit is the plastic itself. You clearly need to paint this. The tolerances are tight without painting. A bit of sanding is needed to get the tripod legs to even slide. It felt like the model I got was late down the line where the mold had gotten sloppy. The ammo insert in the ammo box is wider than the ammo box inside, and requires trimming. The halves of some parts (legs, receiver, part of the barrel shroud) didn't meet up flat. As a side effect, the barrel came out crooked when assembled as is. Noticeably crooked.

Overall

Griping aside, the model's not bad. You just need to know what you're getting into. There's a lot of moving parts. Some of the movement can be nullified by bad handiwork or too thick of a paint job, however. I honestly don't think it's worth buying the kit if your skill isn't great and all you want is an M2. However, I don't think they sell the M2 pre assembled, at least not anywhere convenient. There's a limited number of M2's from other manufacturers, and none are common. So if you're in the market for one, you're forced to go the Dragon route if you're unable to find pre-built ones. If you're absolutely rubbish at painting like I am, you'll hate this option.


 On a last note: the ammo links are too rigid. You can sort of bend them. They'll snap and disintegrate though. You'll be limiting it to just dioramas and not much else.

Saturday, February 26, 2011

J.Norad Reviews: Hot Toys Modern Firearms Set 4

 Picked up a box of Hot Toys 1:6 Scale Modern Firearms, Series 4. They were still selling them at HobbyGen.com for $119 a box. There's a few other places that still stock them if you want to pick up the entire set, but before you do that, let's find out whether it's worth the bother.


They come 12 to a pack, and take up as much volume as other blind boxed trading figure sets. I was quite surprised when I opened the first one, with how loosely secured the box was. Seemed like they used hot glue to close the packages and did a poor job with it. There were no descriptive cards with any of the weapons, unlike Furuta and Zacca. Just plain old $12 of gun.

What struck me as odd was that each of the packs were labeled to what gun was inside with a stamped checkmark (see photo). It didn't look like the seller had opened it and taken the time to give me a full set of guns, which led to one conclusion: These sets aren't blind boxed, meaning they're not randomly packed. Buying a full box gives you a guaranteed set. Not sure if this was the same as Series 1-3. If you guys happen to know how those were packed, let me know via the comments. 

Sadly, they don't come with a display stand. I'm still using the display board that came with my 1:6 scale bazooka sets. It's fine though, but it would have been extra cool if they did.

The AKM
Not going to bother covering this. You either want this or you don't. Has a drum mag and a folding wire stock.  

The SCARs
 There's absolutely no reason why any of you need four FN SCARs. Seriously. 

 From top to bottom: SCAR-L STD (tan and black), SCAR-L CQC, SCAR-H-LB


 For those of you who do, here's the lowdown:
  • All four have extendable stocks and can be folded to the right
  • Silencer on the SCAR-H LB is removable
  • Bipod on the SCAR-H-LB is removable, and swivels
  • Scopes are glued on except for the SCAR-H LB. Rear sight can move along the rail. Iron sights can be folded down or propped up.
  • SCAR-L STDs have a bipod stored in the fore grip that can be pulled out. which is nice
  • The SCAR-H LB is properly stamped as being 7.62mm cal on the side
 Unfortunately, while the details are well done, they had an issue with the text. Apparently, this gun's made by FN Heatsel, Belgium. It shows up on all four rifles. The text on the scopes does read "For law enforcement/Military use", which was nice. Wondering if the typo was a usual engrish copy error, or a deliberate typo to not get in trouble for copyrights. Then I noticed that they had the brands for all the scopes labeled correctly. Guessing it's engrish. All four SCARs are about the same to me but I'd have to pick the LB variant.

The M4A1's

There's honestly only one of these you'd want. You do not need all three M4A1's. You probably have tons of these already.
 From top to bottom: M4A1 with XM26 LSS, and two M4A1's with M93 stocks

 Stoner's properly spelled right on these... so wondering what the deal with the Heatsel was for the SCARs. My tan M4A1 looked warped. Came out of the pack with the front barrel section misaligned by ~5-10 degrees to the left. The stock and barrel were curved upwards slightly. My magazine for the XM26 LSS was loose fitting and does not stay in securely. The clear magazines have issues from assembly, where the adhesive fogged up the inner section, making the magazine not perfectly clear.

Here's the finer details of the M4A1's.
  • Flippable dust caps for the scopes
  • Scope for the black M4A1 was glued on, while the tan was not. 
  • Foregrip and flashlight assembly can be forcibly removed if desired; weren't glued on.
  • Extendable stocks
  • XM26 LSS has a spring loaded cocking lever and the barrel shroud extends out (presumably to minimize transport damage)
  • Moving dust covers!
Pretty obvious what you'd want to pick up, because few manufacturers make XM26's.

 
The M-14's

These things are massive.
From top to bottom: SOCOM II, EBR with M4 stock, and EBR long barrel.

The magazines are very loose. The magazine wells for the EBRs were a thousandth of an inch wider than the magazines.You can fix that by applying some super glue to the sides of the magazine wells and letting them harden to fill in the gap. Just don't stick in a magazine before it dries. One of my magazines looked like it was covered in excess glue residue. My EBR long stock came with a scope latch missing. Not noticeable, but annoying knowing it's missing. The only fun features are the spring loaded cocking levers for the EBRs and the extendable stock for the EBR long barrel. However, there's one little surprise for the SOCOM II.

The rubber butt guard lifts up to reveal a hinged panel for where the cleaning kit goes! It seems to go in 3.5cm deep if you want to stash a cleaning kit in there, if you are that bored to build one. It's difficult to open without tools, so be warned.

The SOCOM II's the best of the batch, with its appearance, properly molded magazine (which curiously does not fit in the EBRs) and detachable suppressor.

The HK-417
I think if this set was blind boxed, the HK-417 is the best model of this series. Thing is loaded with little details that make it so much better than the other models.

 First, the biggest thing to note is that you can separate the upper receiver. It's the only model of the set that can do this. None of the M4A1s were given this feature. It has flippable dust covers for the scope lenses and the ejector port. The front iron sight can be moved. the bipod is adjustable and is spring loaded. The stock extends.
 The most overlooked feature is the charging handle. This was surprising as none of the M4's had this.

I did find some short comings with this model. The magazine is near impossible to remove. I fought hard to remove the magazine after jamming it in there. Measured the difference with my micrometer and found the well was 3 thousandths of an inch too small for the magazine. The magazine could have been given a chamfer to help guide it in the magazine well too. I had to shave the inner walls to get the magazine to not be permanently stuck in there.

The markings were fairly good, until you look at the right side. You really need to have good eyes to catch this, because at a fair distance, it looks fine. Odd how it has the HK logo on the reverse but has this misspelled.
 "Heeklor and Keeh GmbH". At least they spelled "Sterling VA" right.

The Verdict

If you want a highly detailed model of any of the reviewed firearms, Hot Toys does not disappoint. It's pricey at $13 apiece minimum compared to the lower quality Zacca P.A.P. models but you get what you pay for. They can be had for about $15 from most 1:6 scale hobby shops online, or e-bay. The redundancy of some of the models makes picking up the set a bad idea, so I highly suggest only picking the ones you like. You seriously do not need 4 SCARs.

Saturday, January 08, 2011

J.Norad Reviews: Intoyz 1:6 PSG-1

 Adding to my collection of "Sniper rifles in cases", I bought an INTOYZ PSG-1 (2000, ~$15 shipped)  Been debating getting one for a while. First thoughts when I received the item was the sheer size of the carded item.

Thing is huge. 

Way larger than I expected the card to be. If you're planning on buying one online, this will explain the shipping costs. 

Out of the Box
The case is rather unspectacular. It at best resembles a Black Monolith pencil case from the 1990s with a remnant of a shop rack hangar tab on the top. The hinges are great, however, as they use metal pins. Gives a sense of confidence in repeated use with those.

 Opening up the case, we get two magazines (one in the rifle already), a folding bipod, and five spare bullets. The set comes with five spent casings, but there's no way to store them conveniently in the case.

 The spent casings are nice for dioramas, but you'll end up stashing them in a small zip baggie and storing them in a case where you can't lose them.


Details

INTOYZ has a lot of nice little details on their model. First, is the safety selector lever.

The lever has two detents to rest at, so they don't keep moving. They seem to have a hard stop as well, so you can't swivel them 360°. Also nice to have the selector markings. 

 This model has a spring loaded cocking lever so you can fiddle with it at your leisure. Not something you'd really need, but it adds to the overall level of detail. Some people tend to try moving the cocking lever on 1:6 scale guns, or maybe that's just me.

 The rifle comes with a folding bipod. It can slide along the bottom front grip of the rifle, and neatly folds up. I didn't find it too sturdy when folded down. The legs tended to bow out and the left one has become slightly loose, and tends to pop out. Something to keep in mind if you intend on using the bipod as a load bearing structure and not as a decorative item.

 Here you can see the full extent you can move the bipod back. Also visible is the safety selector markings on the right side.

 The magazine has molded bullets, but they seem smaller than the loose cartridges. not a big deal as you won't be looking at these too often side by side. They're molded well, complete with the rim.

Annoyances
 This model is pretty good. However, I have one complaint about the case. There's no ideal way to store the extra bullets in the case, as provided.

 Closed up and latched, the bullets will shift around a bit, which is expected. However, the slightest crack will result in bullets all inside the case. Fine if they haven't shifted around like the above image, but they'll tend to migrate into the bipod area and into the rifle region. I think they should have used the space for holding the second magazine and not have one in the magazine well. I'm probably going to do that since I don't like the idea of losing tiny pieces. Into the bag of loose ammo casings they go!

The main reason I picked up the PSG-1 was for my Yamato Solid Snake. I was pleased to  find that the grip slid into his stiff hands with relative ease. Snake's hands are absurdly stiff and difficult to get some rifle grips in there. The PSG-1 slid in like Snake's hands were designed for it.

 Unfortunately, his other hand isn't.

 I tried using the bipod for a prone shot, but the bipod wasn't good for supporting the rifle as it was being pushed downwards by the arms of Snake. Not a lot of figures can do this position (Snake can't do it too well), but if you do find one, the bipod should give you less problems.

Overall
I was pleased with the construction and general build quality. There are only four PSG-1 models I'm aware of on the market in 1:6 scale. One being from Hot Toys' Resident Evil line, the second being the Yamato version from the Sniper Wolf doll, and the other being ZACCA's World Weapon Collection. Hot Toys' PSG-1 is perhaps the easiest to obtain loose, with ZACCA being the rarest. However, in terms of overall detail, the INTOYZ model may be the best if you like all the little mechanical details. Molding quality and paint, I would probably guess Hot Toys' has a leg up in little molding details. However, I didn't see the right side safety indicator markings on some product images of their PSG-1.

If you don't care about the case and just want the rifle, you're better off getting a loose Hot Toys' rifle. The bipod may be too fidgety and the remaining details may be too delicate for rough play. It's a lot cheaper if you're on a budget to get a loose rifle.

On a side note, INTOYZ also makes a MSG-90 which can be bought for approximately the same price as the PSG-1. As far as I know, no one else makes a MSG-90 model in 1:6 scale.

Saturday, January 01, 2011

This Week's Project: Weight Loss Program for Miniguns

Chalk up another item on the list of "things I'd prefer not to ever redo but ended up doing anyways".

I had an opportunity to try out building something with the new revised minigun schematics I posted a while back. Seems that there's some errors that needed to be corrected with those schematics, in terms of a few dimensions being wrong. As posted, they either require longer support arms on the handle mount bracket (sheet 2), or a shorter profile on the outer barrel support (sheet 1). A modification of 2mm more on the handles or 2mm less on the outer barrel support (actually that needs to be dimensioned in general) will fix the problems. Oh well. None of you actually are using my plans anyways, so you're not affected.

Since this build used the newer schematics and improved building methods, I have officially designated this model as the "production" model. I've taken the opportunity to try out different build methods to lighten up the minigun as much as possible. Also, I've forgotten how I built it in the first place, so I had to.

The main differences in the production model and the prototype involve the larger, more liberal use of Magic cards. The whole handle bracket for the prototype was purely 110lb cardstock, whereas I've taken the opportunity to experiment with hollowed assemblies for the lower bracket. The ammo chute, power control module and bottom pipe mount were built the same way with Magic cards. The piping itself was done properly, at the elbow. I achieved a cleaner bend by notching sections of tube evenly to form a gentler curve than the atrocious abrupt elbow on the prototype model.

The drum is the biggest change. I made the drum as thin as possible knowing that a wall thickness of 1mm is sufficient for the mildly cosmetic nature of the shape, and that I was going to reinforce the middle and ends with a three card layer circle plug. There's now a taper from the aluminum section to the start of the black region, a task not feasible back then in the era of manual sanding. Having a Dremel allows for greater opportunities! The end caps on the prototype may have been constructed from a back of a art sketch pad due to the supreme rigidity. That material is also significantly heavier than Magic cards.

The minigun barrel spindle assembly was built with purely 110lb cardstock this time. I think I may have used a plastic tube in the prototype to reduce friction. That may also have been a big factor in the weight reduction.


 The rest of the build was the same as the last. Except I had no idea how I pulled off making the rear handle bracket without a Dremel. Or in general. I ended up shearing off a section in the middle and needed to reinforce it with a paper clip rod. I'll call that "planned strategic structural enhancement".

I noticed a long way though that I undersized the minigun barrels from 6.35mm to 5mm. I don't really care and I don't think anyone else does either. It looks OK as is. Makes painting the barrel assembly easier.


Here's the completed production model Sasha, Serial Number 0002 (assigned one, as though I'll be making more, but you never know). The Mini MS stand I bought a while back finally found a good purpose. Just the right height to display this monstrosity.

The build took around a week (with copious breaks in between part fabrication), and definitely was made easier with pre-existing plans. However, I had some quality issues with the large drum that resulted in a warped outer surface. That entire drum needed to be scrapped and redone, costing a day's worth of work. It's not particularly an annoying project to do, but it's not pleasant either. I did achieve a noticeable weight reduction, but not enough to allow the minigun to be properly wielded by the Heavy.


As for the fate of Prototype S/N 0001, it shall remain in possession of The Vortex as no smart person would want the flawed model (and I actually like the older one better for some reason). S/N 0002 shall be used as barter for rare and exotic trade goods.