Showing posts with label medic. Show all posts

Sunday, October 11, 2009

Would You Like A Second Opinion? You Are Also Ugly!

Sometimes, you get unexpected things that make you laugh. Sometimes, you get this while eating gummy bears:

Figure 1: Regular healthy gummy bear on the left, and what appears to be a cancerous blob on the right.

I brought the specimen to the resident doctor and game warden. Hopefully, they can shed some light on the mysterious specimen. By the time I transported the specimen, I had found that there were some other abnormal bears being analyzed at the sample room.

The red bear on the left was likely formed prematurely. The one on the right lost a limb and had lots of red discoloration on the region. None of them seemed to interact with the green blob.

Medic: I haf never seen anyzing like zat in my life.
Sniper: I wonder if it's hostile to humans. Mind if I take a closer look?


Sniper: It's quite squishy, mate. I can't tell which side is the head. Or what it's supposed to be. Is Norad sure that this originally was supposed to be a gummy bear?

The specimen was agitated and grew hostile. Defensive action was needed.

I think I'm looking at its bum...

You can tell by the subtle shifting of mass towards the Sniper that the blob was acting aggressive. There was no other means of subduing the organism peacefully. The Sniper took aim and put it down. After that, it was dissected and sacrificed for a few bits of health.

I'll be back to normal posts once I procure the proper materials needed for this week's project.

Thursday, May 07, 2009

J.Norad Is The Worst Doctor Ever

You've probably seen enough Team Fortress 2 Medic Etiquette posts on miscellaneous blogs. You've seen the usual stuff like:
  • Don't spam for "medic!" over and over and over...
  • Don't steal a burning medic's health kit
  • Don't monopolize the medic's time
  • Don't lead the medic to certain death and expect him to come after you
  • Don't microphone spam because J.Norad's too busy listening to Bee Gees to hear you, etc. etc.

Someone's got to teach your team some manners.

But you probably weren't warned about this happening to you if you violated those rules:

Medic is traitor to team!

For those of you who are staring at this pic for five minutes not seeing what's wrong, here's a summary:

(Medic + enemy spy + voice chat teamwork + assisted backstab on same teammate)x4 = domination on your own teammate.

(Yes, dominations also work on your own team. They'll be VERY unhappy 0nce they find out what you're doing.)

That'll teach that heavy to steal your medkit. And as a bonus, healing your spy friend makes him look more legitimate, thereby making it easier to lead him to your target. Remember kids, just because you and your friend are on opposite teams, it doesn't mean you can't help each other out.

J.Norad will be back with the regular post content next week. Until then, happy griefing!

Monday, January 19, 2009

A Long Overdue Medic Update

When you do something for the first time, usually it tends to suck. Most of the people who look at the stuff I make tend to not have the capability to do what I can do, and I think they are afraid to point out the flaws for two main reasons:

1) They can't challenge the result, fearing the dreaded, childish reply of "let's see YOU do better".

2) They don't know what to compare it to.

Personally, I welcome criticism, as I tend to not see some flaws right away, and like to know others actually see what I see as "obvious problems". Positive feedback doesn't do a lot of good when you're trying to improve. Anyways, to get back on point, the first Team Fortress 2 doll I created was the Medic. I've made a total of 6 head sculpts in my entire life out of clay before this:
  • My BC Calculus teacher, done with kneaded eraser (done during the class period)
  • My AP Physics teacher, also done with kneaded eraser (also done during the class period)
  • Two characters from the TV series "South Park" in grade school
  • Two characters from the Japanese anime "Dragonball Z" out of some really weird clay during grade school
Considering I've had about four years in between "attempts", I can't really say how much I've improved after each time. Not to mention, I spent about maybe less than an hour on each attempt. Well, the Medic head sculpt was my 7th head sculpt, and took about a good three hours.

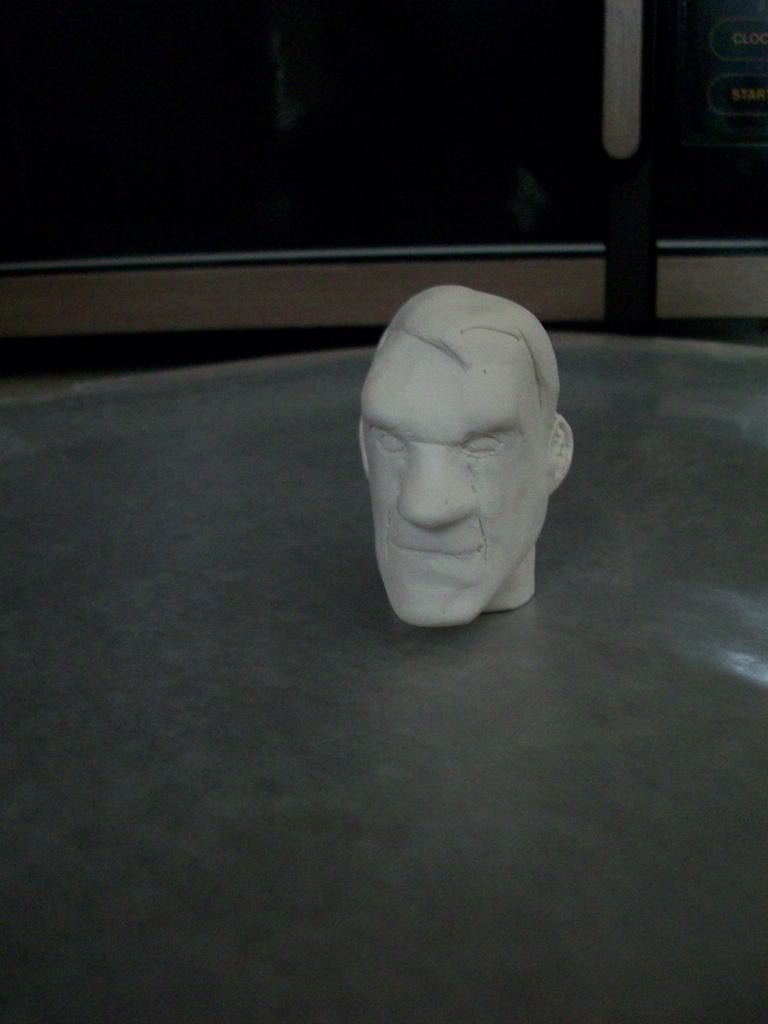
Man, it looked terrible to me after I noticed what I did wrong. I've wanted to redo the head now that I have a better idea on doing these sculpts and what I did wrong. Let's look at the old head, and the new and improved replacement Medic head!

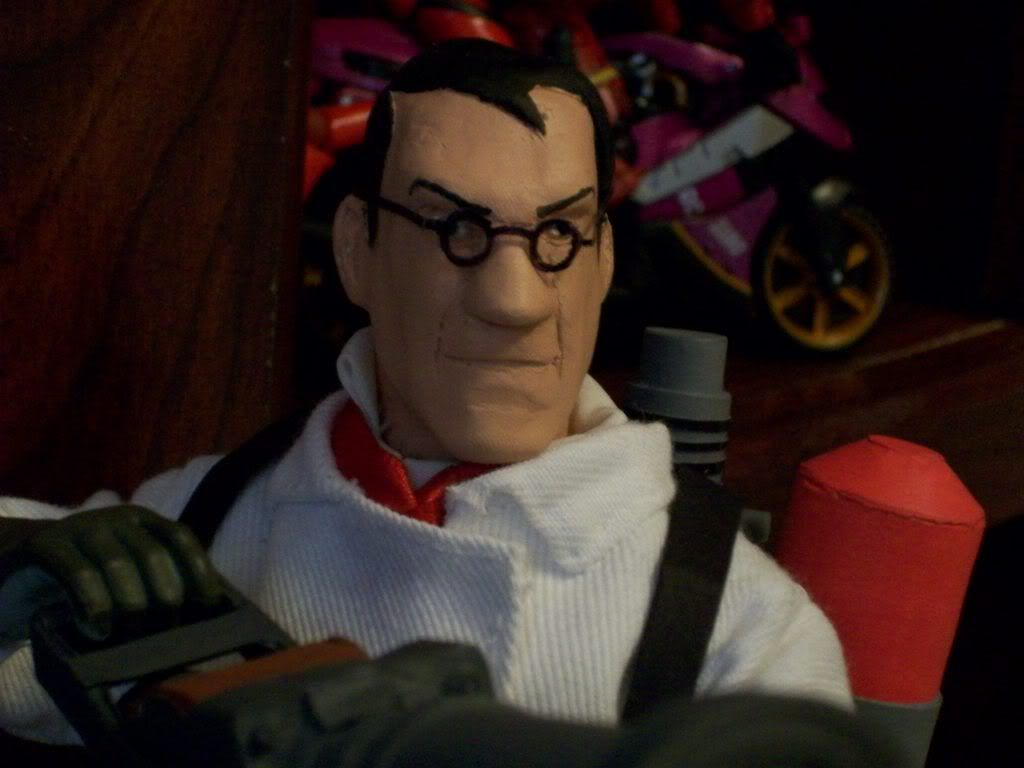
First off, the replacement one gets the glasses since he's now the "official" head I'll be using. It'll help for you to validate point #2 I made previously about not being able to compare it with the reference later. As you can tell, the new head is smaller, as I made the first one at roughly 120% the size. We have a reduced nose, more of a scowl, less beady eyes, and thicker eyebrows.


What the second one really improves on is the little details. The hair isn't flat anymore, but has a little curl as it should be. There's more pronounced cheekbones and facial lines. The main goal for me was to scale the head down to the right size; all these other changes resulted from reanalyzing the source material. Speaking of such, sculpting a head requires more than the basic three views needed for an engineering drawing. It needs quite a lot of views, actually.


This image compiles as many relevant shots of the head as I needed to complete the head sculpt. Side, front, top, along with some angled shots. The problem with sculpting the head for me was the fact that I can't easily see the flaws til after I paint the head. The shadows become more pronounced, and I can see what parts were done badly (eyes, nose, and those ridiculously pain do to ears...). Maybe the 11th time around, I'll figure out how to resolve that issue. Until then, I'll have to figure out where to store these extra heads. The wine glass on my desk is very crowded.
We're going to need a bigger glass.

Wednesday, September 10, 2008

Desk Vignettes #3: "Can I play TF2 with you guys?"

Story time, featuring Shia LaBeouf! I'll add my own story this time, using mostly dialogue from TF2 whenever possible. For those who like to make up their own, feel free to ignore the scrbbles that make your head hurt and look at the pictures.

SOLDIER: That was an amazing killing spree! By ME!
SHIA: Hey guys! I'm Shia LaBeouf. I'm new here. Why are all of you standing around a cup full of heads?
ENGINEER: Were you that guy who was in Transformers?
SHIA: Yeah. I was also in Indiana Jones and the Kingdom of the Crystal Skull!
ENGINEER: Durned robots. I could've handled them better than you did, ma'am.
MEDIC: I zid not like ze crystal skull. But I do like watching ze hurting in zat film.
SOLDIER: You didn't take your lumps like a man, private Twinkletoes, hiding behind CG!

SOLDIER: Alright, give him hell, boys!
SHIA: Uh oh.
SOLDIER: If god had wanted you to live, he would not have created ME!
DEMOMAN: Don't worry! I'LL be gentle!
ENGINEER: I'm going to beat you like a rented mule, boy.
MEDIC: Come over here, I promise to heal you!

Sunday, August 24, 2008

Celebrating August 24, "Build A Grenade Launcher Day"

Took about a few weeks to get around to it, but I've finally built the Demoman's grenade launcher. Not as involved as the flamethrower, but it was a lot of revolved objects. The center six grenade tubes are solid 110 lb cardstock rolls around 0.125mm dia bamboo skewers. That gives it a bit of heft to the overall weapon. Unfortunately, I opted not to allow the break open action of the grenade launcher for structural reasons. It would have made for a good, fun miniature accessory.

Anyways, to celebrate the near completion of six of the nine figures, time for a group shot. Here's the original group shot that I'm constantly using to get me motivated to complete the rest of the nine.
Now for the two-thirds compromise.

Given, I'll concede a few issues with my group. Still need to finish the Pyro boots, the Engineer's glove, some minor details on the Demoman pouch, and the really unfinished toolbox. I'm debating sewing a few more details for the Engineer's overalls as well. Not that anyone's going to really notice. No one notices that the Engineer's electrical cord on his belt loops twice and only has one end plug, or that the fact that the Pyro's tank doesn't do anything (it's not an oxygen tank, as it has a flammable sticker on the second smaller tank), or how any of the grenades attach to the belts.

Hopefully I'll get some nice, opaque yellow paint, electrical tape and finally finish the Engineer's glove and Pyro's boots.

Sunday, July 20, 2008

More Team Fortress 2 Medic Figure Updates


Well, here it is. The Blutsauger. I've only had the medigun made so far for the Medic, and a scaled ubersaw for Hotaru to mess with. With a new ubersaw and the blutsauger scaled for the Medic figure, I now have the weapons I preferentially am using for the primary/secondary/melee slots. The default syringe gun is actually more annoying, with the clear canister and needles inside, so the blutsauger made for an easier build. The top cylinder is one single revolved object, and the bottom is made of several layers of MtG laminates with a bamboo skewer frame. Think of it like a canvas, with wood holding up a cloth. This added to the structural integrity of the bottom, allowing for a less flaccid frame. (Man, it's fun to use "flaccid" to describe things)

HAHAHA! Oktoberfest!

To ensure a good fit, I scaled the Team Fortress 2 wiki's blutsauger image by about 70% so the handle width was 6mm. From there, schematics were easy to draft. Painting consisted of acrylics (as usual), with varying shades of black/grey for the individual elements. The little green elements required a mix of black+white+green in a ratio of about 1:7:1. The red is unaltered from stock.

This is the properly scaled ubersaw. It's quite large. This one was made with MtG laminates with a rolled 100lb cardstock cylinder surrounding the needle for a home inkjet replacement kit. It makes for a better appearance than a wire. This time, I used red paint mixed with brown to get a dried blood color.

Vould you like a zecond oopinion? Yes, I ended up making both saws. Now time for some fun with the saws.


Za healing is not as wewarding as za hurting.


Did zat sting? Sowry!

Due to the limited poseability of the Medic's rubber fingers, the handle holes are larger than normal to fit all four fingers than just three. However, this lets other 1:6 scale dolls and figures use the saws.

Sunday, July 13, 2008

Team Fortress 2 Medic action figure! (more like a doll, but hey, it's a MANLY doll!)


Rubber needs special paint with plastics in it to stick. Well, I don't have that, so painting on acrylic then coating it with a layer of glue as a "varnish" works just as well. The gloves were extended using a piece of painted 110lb cardstock. Cheaply done, but it's removable so I can repair anything that may go wrong during the Medic's short, short expected lifespan. The armbands are laminated pieces of paper, glued onto the sleeves. Nothing special there.

I made the bonesaw larger than it should be to accommodate for the lack of figure glove dexterity. All four fingers fit in the handle, whereas only 3 should fit in the lower, larger hole. It however makes for a menacing saw. The game model seems to have a rather long and large bonesaw anyways.
Other things worth mentioning is the addition of semi funcitonal belt pouches. They have crudely made flaps that tuck in and can hold some magazines, spare needles, spare limbs, and whatever else a medic finds on a battlefield. More pics at the photobucket.

EDIT:
I've since redone the Medic head so it looks less "Fugly". The older head has been mailed to Canada for safekeeping/disposal.

Saturday, July 12, 2008

I am ze Ubermensch!

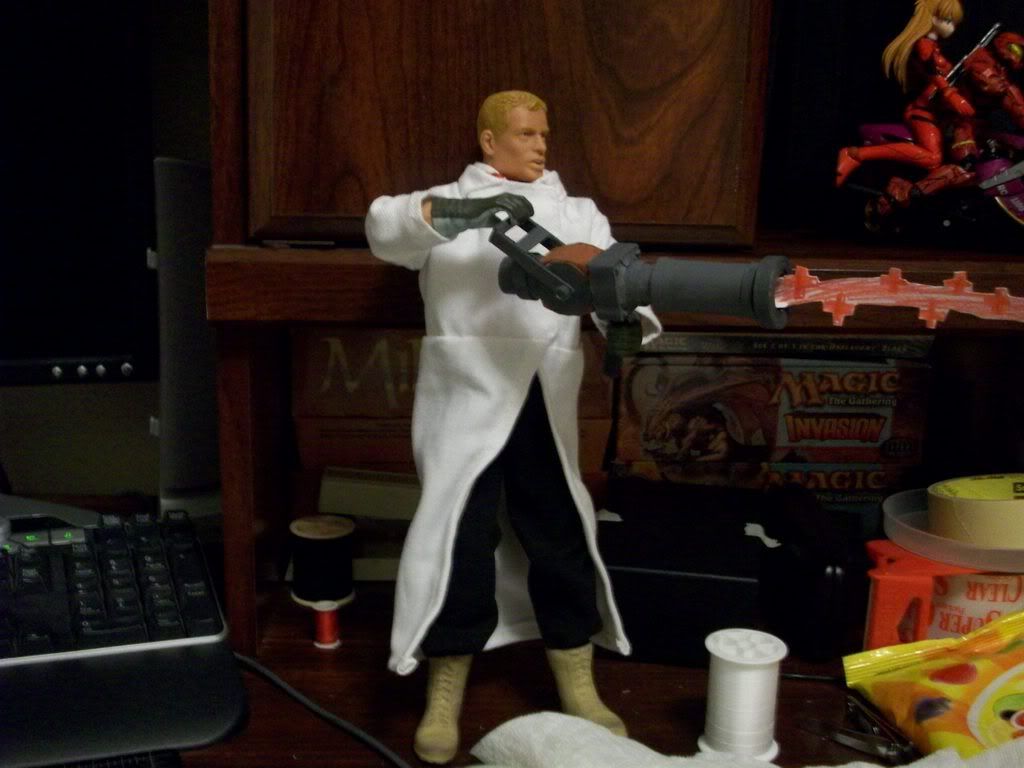
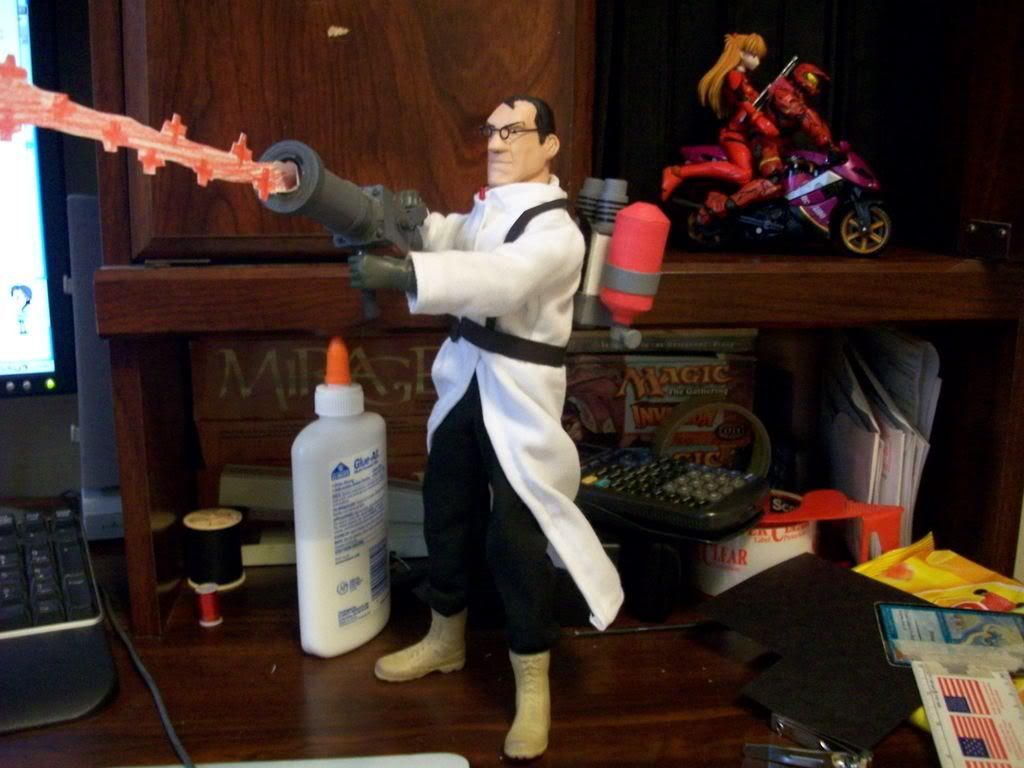
This week's project before starting work: making a 1:6 scale medic action figure/doll from Team Fortress 2. There's surprisingly some interest in having fully articulated Team Fortress 2 figures or whatnot, and Valve says for the same money used to make figures, they could make a new game. So why not try my hand at making one?

I already had the medigun made, along with other random weapons from TF2. As a base, I used the $8 Soldiers of the World figure I bought at KB Toys. Stitched new black pants (The real color's a bit red, but I didn't have that. Black will suffice), made a coat, shirt and tie.

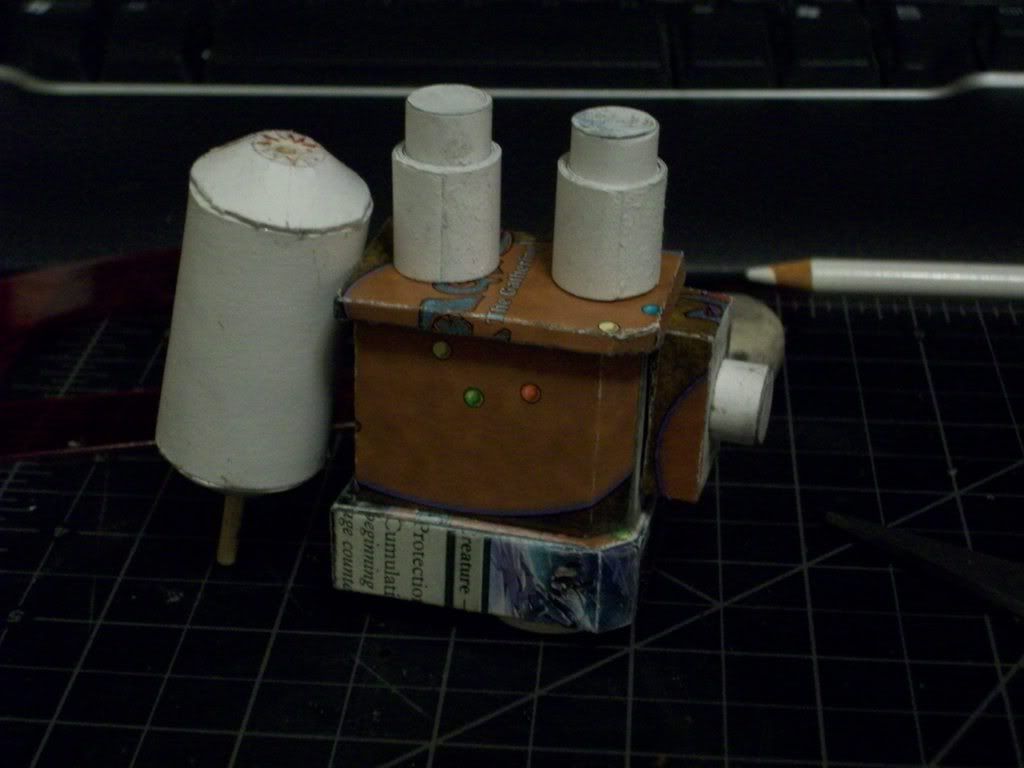
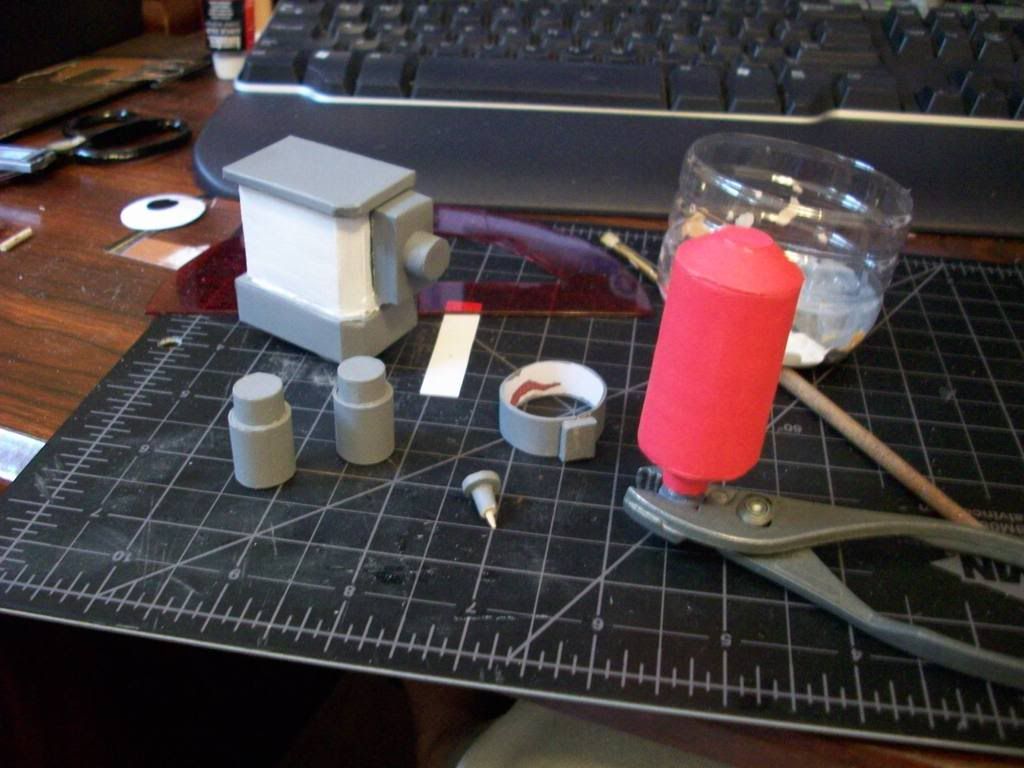
The next stage was to make the backpack, otherwise the figure looks like a generic doctor/flasher with a giant pipe. As usual, Magic: The Gathering cards were sacrificed for my cause. Farewell Ronom Hulk and Rimewind Trademaster, you served me well for the backpack frame. The other round elements are completely cardstock rolls. The giant canister on the left is mostly hollow, capped by two cone fustrums.
(Edit: man, that looks really horrible in retrospect)
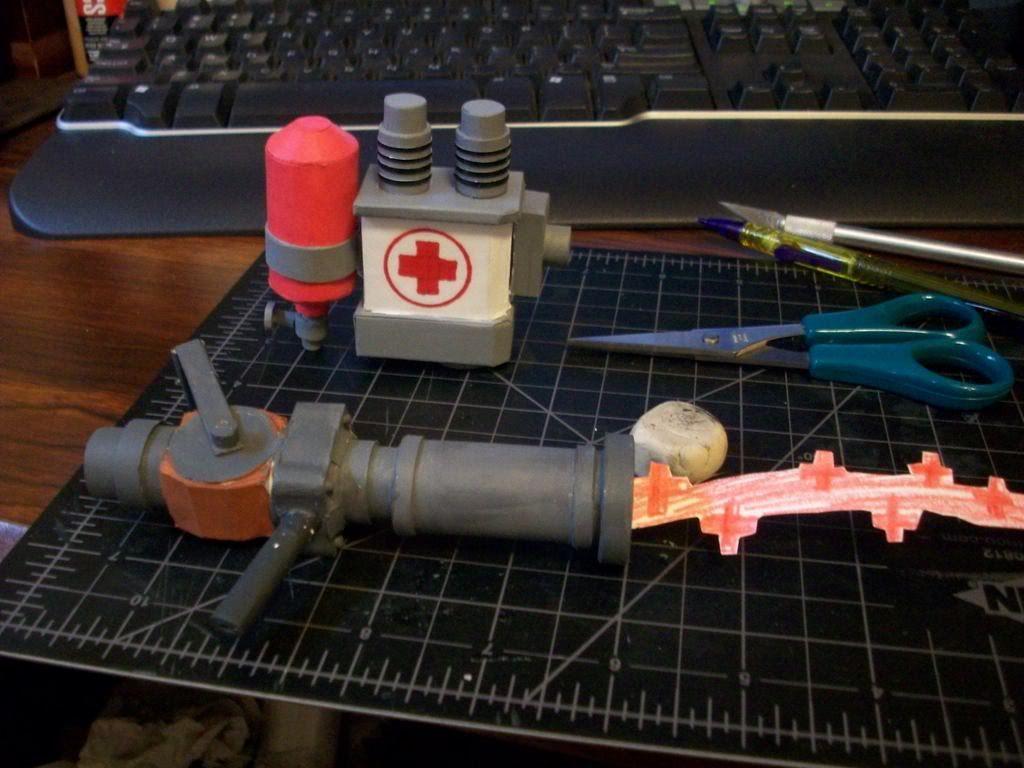
The red consists of one part Napthol Crimson with about 2-3 parts white. A sticker handles the medic cross, coated by a layer of packaging tape. Each stripe on the electrical coils are edges of a Magic: The Gathering card, cut half the thickness then curled around. Parts were painted then assembled.
The finished backpack and existing medigun.

The head sculpt required some planning and work. I chose regular Sculpey than Super Sculpey, since it was cheaper. The head sculpt took 2.5 hours to make, and I'll admit, it's 110% as large as I'd like. Should've checked before baking, but it's done now. Here's some handy info regarding sculpey hardening. On a related note, it does not give off toxic fumes (as far as I know) when baking. Paint coating consists of 2 parts portrait tone Tri Art Acrylic, about 5-6 parts white, and 1 part burnt sienna. Random combination, but I do all my paint mixing arbitrarily. Worked so far.
This is the preliminary prototype for the Medic.


Glasses were made by drawing them out on a layer of clamshell packaging with a regular sharpie. Leave enough thickness to allow for cutting and bending errors so they don't snap in half or tear. I'll get working on the finer details later, with a hopeful finish date within next week.