Showing posts with label sniper. Show all posts

Saturday, December 11, 2010

Finishing up the VSS and Case

Last time, I covered building the VSS "Vintorez" sniper rifle. This time, I'll highlight the carrying case.

The build is similar to the Golgo 13 gun case, with the exception that I have no idea what the rest of the case looks like other than the inside. The walls are 4 cards thick, with a 2mm overlap between top and bottom covers. The case seems to have different latches and handle, so I'll be using a newer design for those.

I have a ton of leftover foam from the Golgo 13 case. Absolutely annoying to trim and cut. What I did was trace out a template of the parts arrangement on some paper, then attempted to cut that pattern on several layers of foam. The case is fairly deep, and it required three sheets of foam.


Each layer of foam differed, requiring the three different patterns shown above. A larger block of foam would have been extremely annoying to cut out in this case. As usual, the foam is completely different colored from what the inside of the case is, and visually showcasing black gun parts on a black background is terrible.

The handle looked like a double hinged attachment, so a bent paper clip tacked in place with some cards worked fine.


I had more liberty with experiment with hinge sizes this time. The hinges are composed of two 2mm wide strips of 110lb cardstock glued together using loc-tite to strengthen it. They were then folded over a paper clip to form the hinge hole. The sections were then staggered and glued together to form two hinge halves. The overall thickness of the hinges was under 3mm, closer to 2mm.


I could not find a feasible method of reproducing the latches on the actual VSS gun case. Mostly because I couldn't tell what they looked like. So I went with generic suitcase latches. The overall width was 3mm, requiring some narrow strips of cardstock. The construction method is the same as the rear case hinges, but uses two narrow 1mm strips for one side, and one narrow 1mm strip for the latch. These had to be strong enough to not snap off after 5 uses, but not bulky. I fixed that by effectively soaking the sides of the hinge pieces with super glue and letting them sit.

As great as the prototype colors look, I had to eventually ruin the project with my crappy painting skills. At least, just the gun part. The case may not see paint for a while. Onward to failure!

This gun used mostly flat black enamels. The stock was a nice mix of dark red, flat brown, and "rubber" enamel. Turned out better than I expected (meaning it didn't look like complete crap). I have no idea how to make textured surfaces like stucco, so the grip is a smooth finish. Anyways, here's some more images of the completed sniper rifle.


So, Golgo 13 has a choice of covert sniper rifles to use. Options are always great.

For the people completely uninterested in reading blocks of any text at all, here's a video demonstrating the case.

Sunday, October 11, 2009

Would You Like A Second Opinion? You Are Also Ugly!

Sometimes, you get unexpected things that make you laugh. Sometimes, you get this while eating gummy bears:

Figure 1: Regular healthy gummy bear on the left, and what appears to be a cancerous blob on the right.

I brought the specimen to the resident doctor and game warden. Hopefully, they can shed some light on the mysterious specimen. By the time I transported the specimen, I had found that there were some other abnormal bears being analyzed at the sample room.

The red bear on the left was likely formed prematurely. The one on the right lost a limb and had lots of red discoloration on the region. None of them seemed to interact with the green blob.

Medic: I haf never seen anyzing like zat in my life.
Sniper: I wonder if it's hostile to humans. Mind if I take a closer look?


Sniper: It's quite squishy, mate. I can't tell which side is the head. Or what it's supposed to be. Is Norad sure that this originally was supposed to be a gummy bear?

The specimen was agitated and grew hostile. Defensive action was needed.

I think I'm looking at its bum...

You can tell by the subtle shifting of mass towards the Sniper that the blob was acting aggressive. There was no other means of subduing the organism peacefully. The Sniper took aim and put it down. After that, it was dissected and sacrificed for a few bits of health.

I'll be back to normal posts once I procure the proper materials needed for this week's project.

Saturday, September 26, 2009

This Weekend's Project: Sniper Rifle V2

Decided to redo the TF2 Sniper Rifle. It's not August 1st, but we'll have to settle for a late celebration. I'm building this rifle to the G-43 standard, and adding an addendum to the standard:

**Rifle grip firearms will have a distance from middle of trigger curvature to grip of 10mm. **

The rifle is larger by a small margin compared to the older model. We'll see how those compare in a bit. First, it's time to show you how the rifle gets made.

The rifle can be broken up into two part types: revolves and extrudes. Revolves are objects that can be made by rotating a 2D view around an axis of rotation to form a solid. In this case, the scope, laser aiming module (LAM) and barrel are revolves. These are made from using the Excel sheet mentioned in this explanation. Extrudes are 2D objects that are made 3D by making them thicker by adding the 3rd dimension, the width. Extrudes in this model include the frame, scope cover, and scope mount. Preparing Magic: the Gathering cards for making extruded solids is covered here.

From the schematic, I've scaled it 1:1 in relation to the final object, and traced out patterns of the frame. I've traced this pattern onto four copies of laminated magic cards, four layers thick. This gives us 16 layers, approximately 5mm thick. The four layers can be seen on the left of the above image.

The scope will be made of several tubes linked together to form the scope. I went for as exact of dimensions as possible for a good fit. The barrel was made from rolling printer paper around a 3.175mm diameter bamboo rod. I suggest using printer paper for rolled objects of little consequential structural stiffness and small wall thicknesses since the final part will have less of a noticeable seam to need to sand down.


This is the scope, assembled. The cylinders connect by overlapping anywhere from 3 to 5mm. I made the cylinders as thin as possible (1mm thick walls) so I could have a hollow, unobstructed scope. I cut some discs out of a CD jewel case for lenses and inserted them into the cylinders.


The scope mount was made in a similar manner to the frame: tracing a 1:1 scale final part pattern, then cutting out the appropriate number of layers to get the desired thickness. When making curved elements, you need to glue the layers together as they're in the desired final curvature. Bending a laminate is not suggested.


The two parts of the scope mount were connected by a small 2mm diameter rod. I decided to enhance the structural stiffness by running a paperclip rod through the tube and the scope mounts.


The frame needs a 3mm deep recess to accept the barrel. I made one prior to gluing the laminates together, so I have less machining to do.

One of this model's gimmicks is the moving bolt/receiver mechanism. I cut out a slot in the barrel for the bullet ejection port. I carved a 1mm deep groove into the side of a bamboo stick and bent a paper clip into the appropriate shape of the bolt handle. The handle was glued in place with Loc-tite. Things glued to metal using Loc-tite shears easily, but the level of shearing needed is much higher than what this part will see. I'll be using a bead for the handle knob. This part was glued into place.

Bolt completed. Next item of action: heavy Dremel action. Since I've made the frame from multiple cards' worth of length due to it exceeding the length of one card, I have an unsightly gap between cards. I covered the sides with one sheet of 110lb cardstock before proceeding to the sanding sequence. I gave all the lower parts a gentle 1mm radius round, then hacked off more material at the stock and handle regions.

Here's the result of some merciless Dremel action, followed by some light hand sanding.

The second functional part of this model is the front lens cap. I've glued a "U" shaped strip around a circular plate, 3 cards thick. The U part will rotate around the hinge, made of a paper clip. The holes were made from a 1/16" hand drill. I drilled the holes first, then cut the material around it. Otherwise, the material will deform and twist during drilling.

This is the scope lens, attached. The gun is largely completed at this stage.

Here's the final result. The top rifle is the newly crafted "high poly" model of the sniper rifle. It improves from the previous model featured below with added structural stiffness, enhanced scope features and rounder frame edges.

Here's a photo of the bolt action lever. Much better than the previous model which used just a tube.

Sunday, June 14, 2009

RED Team Goes Treasure Hunting

J.Norad presents: RED team goes treasure hunting: because I can't be bothered to.

RED team had set up camp near the local garden. Just to be safe, they've put up a sentry to protect their haul.

Sniper sets up shop. "I think his mate saw me..."


"EUUUAHHHH..." BOOM. Headshot.


I crush puny little men at local store and steal their itty bitty treasure!

"With this, we can fire Sasha for 2 seconds!"

Saturday, September 13, 2008

Desk Vignettes #4: A Spy's Guide to Getting Girls (part 1)

Since the oven's kaput til Monday, stopping Scout sculpey fun, here's some Sniper/Spy love.
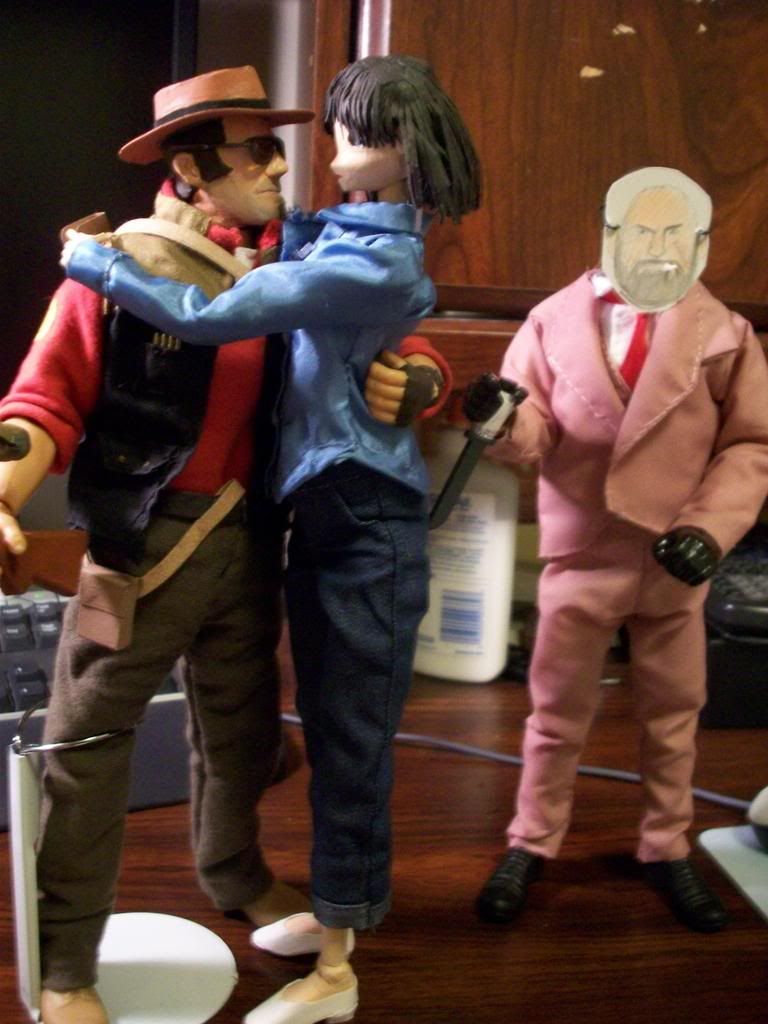
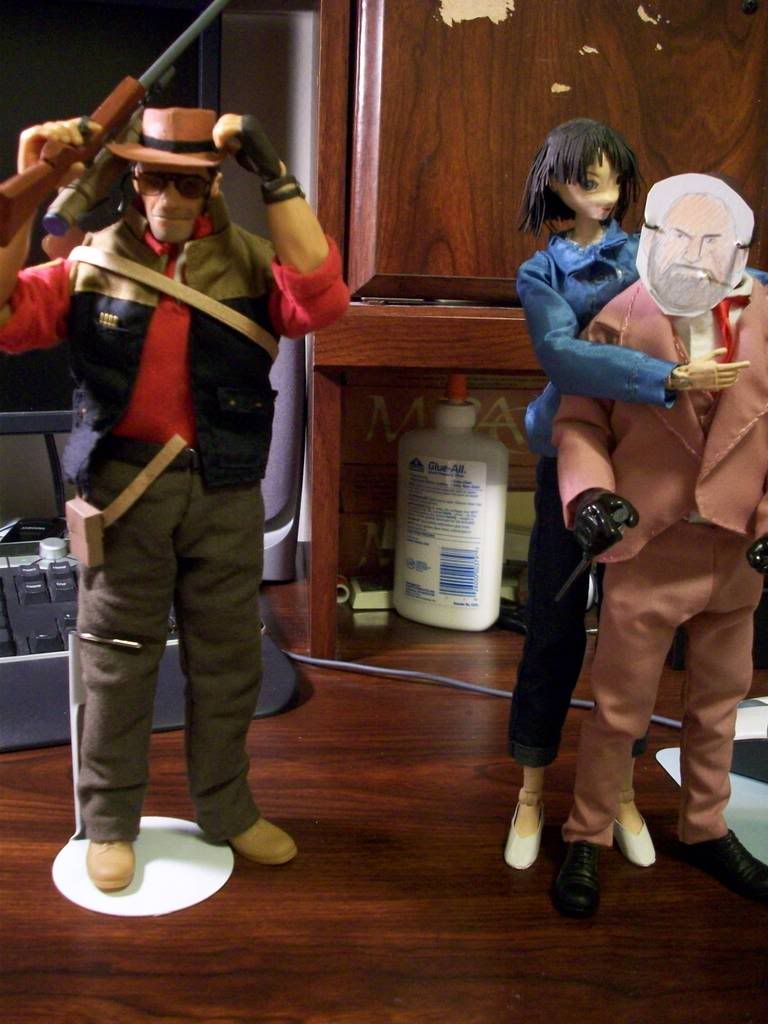
Sometimes, it seems like it's too late to snag that girl. The Spy has ways to get around that.
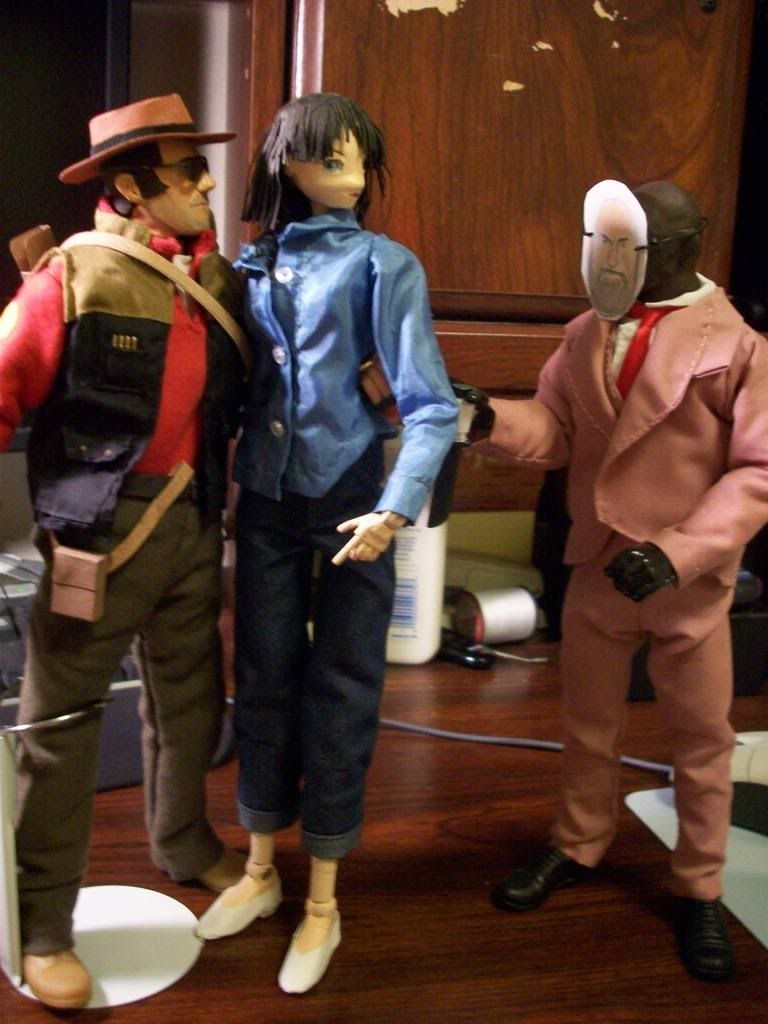
To best increase your chances, it helps to dress to impress. Best to hide that shiv when you do it though. Nothing scares a lady off like a guy holding a knife.

Strike up a conversation.

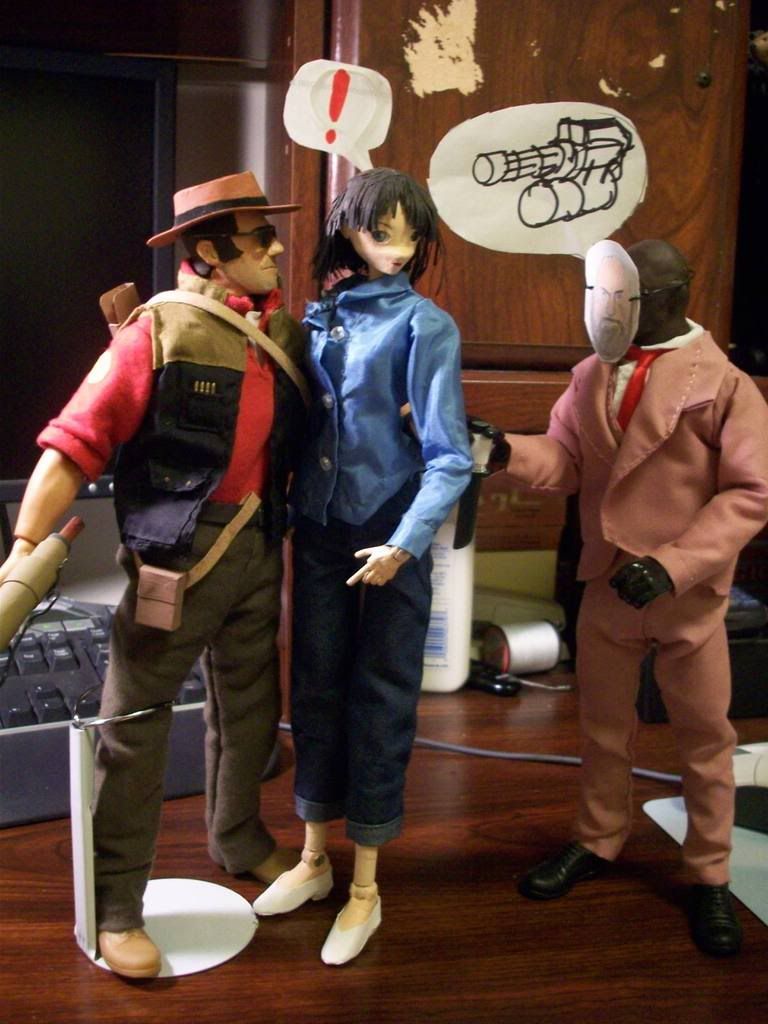
Know what she likes and try your best to get her interested. In this case, Hotaru can't resist the idea of six long, hot and heaving barrels of minigun.

Victory!

Friday, August 29, 2008

Desk Vignettes #2: No love for the Sniper

Experimenting with visual methods of showing emotion for figures. This week's experiment: hearts. Feel free to make up a story to go along with these pics.

Always a good tactic to bludgeon the Sniper while he's distracted with someone else.

Sunday, August 24, 2008

Celebrating August 24, "Build A Grenade Launcher Day"

Took about a few weeks to get around to it, but I've finally built the Demoman's grenade launcher. Not as involved as the flamethrower, but it was a lot of revolved objects. The center six grenade tubes are solid 110 lb cardstock rolls around 0.125mm dia bamboo skewers. That gives it a bit of heft to the overall weapon. Unfortunately, I opted not to allow the break open action of the grenade launcher for structural reasons. It would have made for a good, fun miniature accessory.

Anyways, to celebrate the near completion of six of the nine figures, time for a group shot. Here's the original group shot that I'm constantly using to get me motivated to complete the rest of the nine.
Now for the two-thirds compromise.

Given, I'll concede a few issues with my group. Still need to finish the Pyro boots, the Engineer's glove, some minor details on the Demoman pouch, and the really unfinished toolbox. I'm debating sewing a few more details for the Engineer's overalls as well. Not that anyone's going to really notice. No one notices that the Engineer's electrical cord on his belt loops twice and only has one end plug, or that the fact that the Pyro's tank doesn't do anything (it's not an oxygen tank, as it has a flammable sticker on the second smaller tank), or how any of the grenades attach to the belts.

Hopefully I'll get some nice, opaque yellow paint, electrical tape and finally finish the Engineer's glove and Pyro's boots.

Saturday, August 16, 2008

Desk Vignettes #1: A Gift

I noticed that I conveniently forgot to make the most important accessory for the Sniper doll. I decided to have Hotaru give the missing article as a gift. She's a sucker for men with high powered rifles.
What could this gift be?
Why, it's the coffee mug from the Meet the Sniper vignette!
The Sniper is touched. However, I'd have to forcibly carve a smile into his face to show that. And no one likes having giant people six times your size taking a knife to your face.
Now, with this coffee mug, I always remember I'm the #1 Sniper! I'm too busy being awesome to remember that, so I need a $10 coffee mug to tell me every morning.

Thursday, August 14, 2008

Meet the Sniper action figure

What better way to celebrate the Heavy Weapons Guy update next Tuesday by finishing up one of his many arch-nemeses, the sniper!


(Insert musical flourish here)

He's finally painted and completed. Bought some doll stands to commemorate/help the bugger stand up properly. The sniper rifle has the laser aiming module wire after a long bout of "not doing it". The only thing holding him back last week was a lack of the right shade of brown/tan for the vest. I gave in and cannibalized a military jacket from one of the $5 soldiers which made for a great shade of tan. Let's look at some of the details.

He comes complete with his shoulder emblem, usable pockets on his vest, belt and pouch, shoulder slung carrying thing (Which I suspect is for his kukri), and the chest pocket with four rounds of rifle ammo. I bought another soldier with the M1-Garand rifle just for the ammunition. $5 for a premade detail like that is worth it. His sunglasses are removable and come from my first soldier I modded into the Medic. Now, you may assume his head is a solid sculpt, but I made sure he could also do some of his taunts...

It's not quite the same if the Sniper can't do the kukri taunt. His hat is removable, but has been designed to custom fit him only.
"As long as there are two people in the world, chances are one of them is going to want the other one dead."

"Hold still..."

For the curious, what the Sniper cost me to make (assuming I started from nothing).

Body: $4.95 (counts the rifle ammo and sunglasses as a single purchase)
Cloth and thread: ~$6 (1x black thread, 1x red, white, black, grey cloth at half a yard each)
Sculpey for the head: $10 (regular)
Epoxy for the glove: $8 (epoxy allowed me to paint rubber without the problem of rubber not being paintable)
Misc paper and paint supplies: $16 (1x white, black, brown, green, blue, portrait tone acrylic)
Total cost: ~$45

In actuality, the price is closer to $15 since the materials are shared among the other figures. Not bad for something that Valve doesn't plan on ever making.

More pictures of the TF2 Sniper doll here. (Technically, he's a doll, but hey, call him an "action figure" if you got masculinity issues with playing with dolls.)