
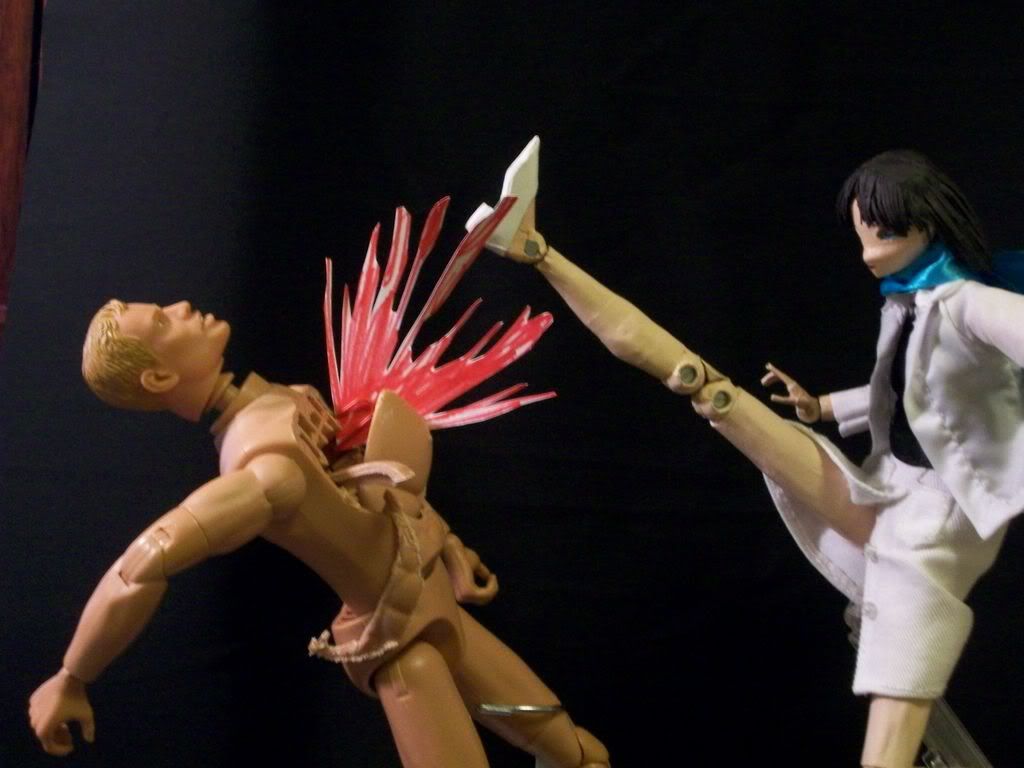
 FINISH HIM!
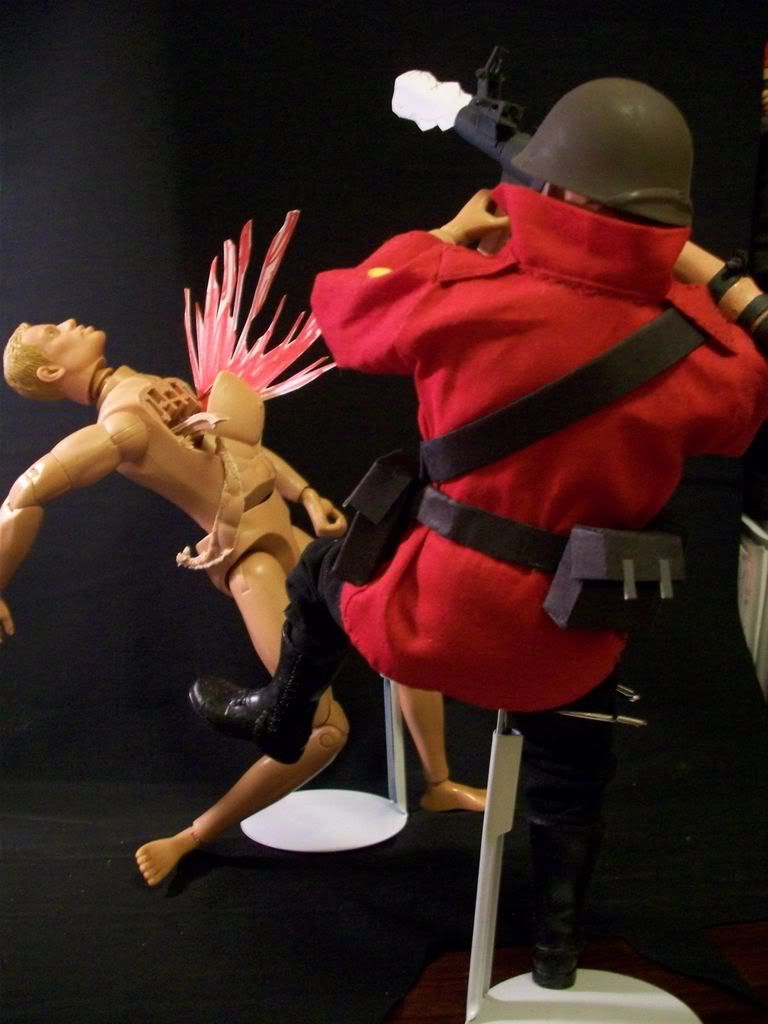 Direct hit!
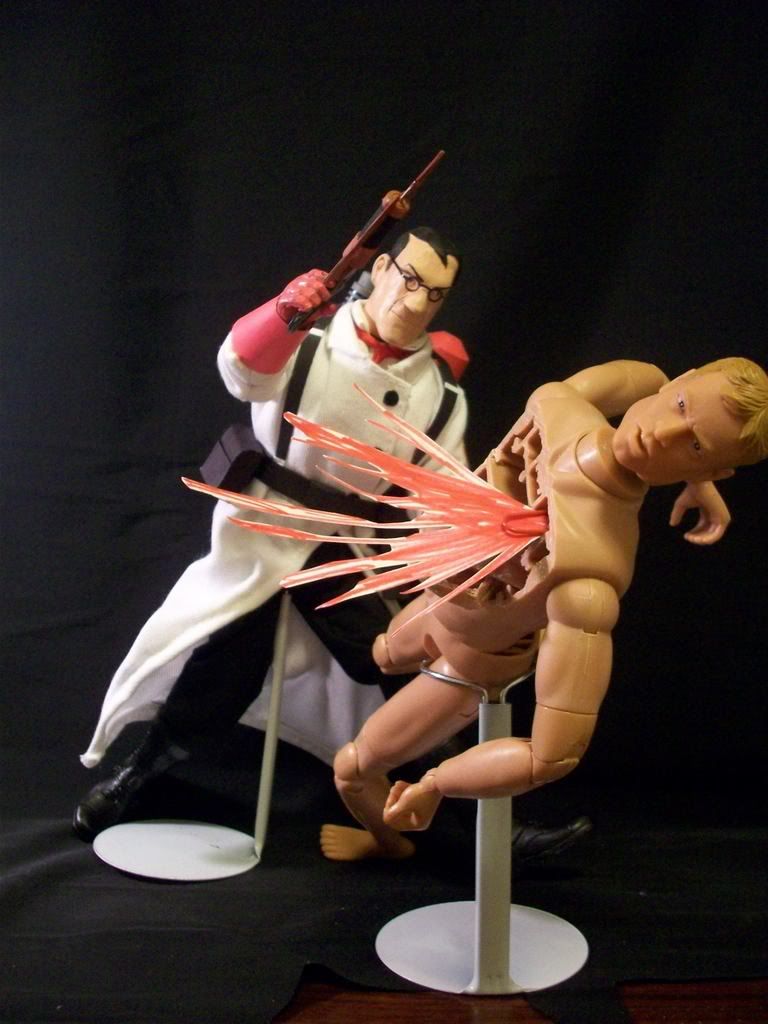 "AAAAAAAAAAAAaaaaaaaauuuuuuughhhhhh!"
"Saw-ry!"
Now with that out of the way, here's some lessons learned that I'd like to record.
- Epoxy needs pre-smoothing or post sanding. Fingerprints are very noticeable.
- Primer needs a good solid coat color. Anything that shows a hint of the under layer's color is going to fail hard.
- No amount of layering yellow on semi effective primer will ever work.
- If you thinly apply epoxy onto rubber, you can paint it with acrylics! Take that, non-paintable rubber! And if you have semi-flexible modeling epoxy, you'll still have a somewhat bendable object!

No comments:
Post a Comment