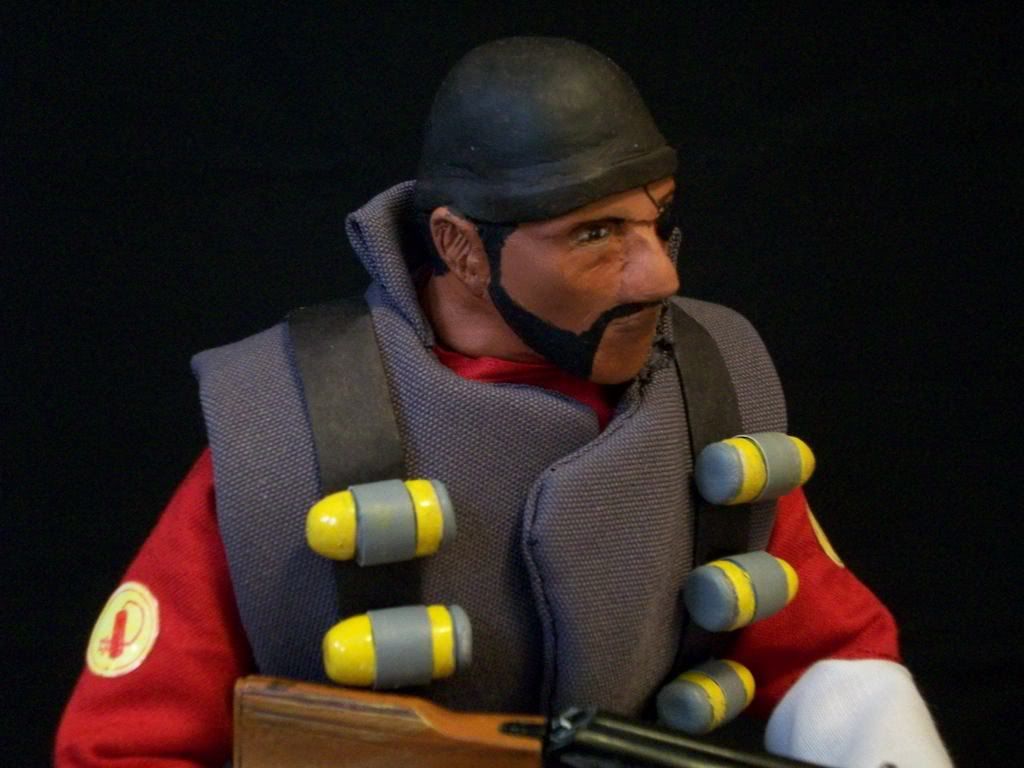
Showing posts with label head sculpt. Show all posts

Thursday, May 19, 2011

I Have Chunks of Hands of Emrakul Everywhere

 I'm finally at a stage where I can put a meaningful post on progress. Work has been started on the horse's head, since there's no point building something with the body of a horse and the head that resembles a pile of mutilated Centaur Veterans.After some load testing on a mock up neck mechanism, I decided that the best option is to reduce as much weight as possible and go for a hollow head. A solid one would be too massive to support using wire bundles. Since I plan on having the skin be the backing of Magic: the Gathering cards, I'll need to make it without carving out details. Papercraft to the rescue!

 I could be progressive and use modern methods like drawing a terrible rendition of a horse using Sketchup and importing it into Pepakura, then turning it into a paper model. That method's not very fun. I'll go at it the more archaic way that uses simultaneously less and more effort.We'll be making the head using a casting!

Starting off with a base of LEGO bricks, I form the rough shape of the head, so I don't have to expend extra resources shaping a mock up horse head.

 After some quick work piling on kneaded eraser, I end up with half a horse's head. Just a half, since it's symmetrical and I can mirror the pattern for the other half.

We bust out the stripchart thermal paper and form a mold. Why stripchart thermal paper? I have rolls of it from work and no stripchart to use them in. The step is just like making a papier-mâché mask: layer strips of paper and glue it together over the object in question with reckless abandon to actual sculpting skill. The shape still needs to be close to the original sculpt, otherwise the next step is worthless. The goal is to make a thin shell of the original. 

With the shell removed off the kneaded eraser sculpt, you'll have the negative to cut and flatten to form a template. The trick is to understand how paper behaves and where the folds would likely happen. It's like peeling an orange and keeping the peel in one part. Useless for the majority of you, since you won't be making castings with playing cards. This technique is going to be the core of all the horse's construction from here on out. The resulting template gets tested out on cardstock before the final build with actual cards.

Behold, a horse's head, made out of Hand of Emrakuls. There's still slivers of them near the base. Took me five of them and a Predator's Strike to form a head, or a converted mana cost of 47! They were quite playable in retrospect, but I hate Timmy creatures.

I'm mildly happy with the results. I achieved the goal of forming a hollow horse's head. Just need to form a mount for the rest of the structure. Total costs incurred so far: 122 (6 cards used on the head) Now for some fun with a hollow horse's head, non-Godfather style.

I am Heavy Weapons Horse!

Heavy Weapons Horse is hungry!

I'm almost finished with the neck mechanism. Hopefully, by the weekend, I'll have attached the head to the neck. Or I may end up stabbing horses in Mount and Blade.

Sunday, September 19, 2010

This Weekend's Project: Golgo 13 Headsculpt

This weekend, I attempted to make a Golgo 13 headsculpt for a Golgo 13 figure. There's already two professionally done ones on the market; one made by Syndicate and one made by Hot Toys. Both cost $200 or more to obtain. So, rather than spend $250-$300 to get one, I'm going to see if it's even possible to make one for under $130! ($13 didn't work, as I already exceeded that price on the body I chose.)

For the body, I defaulted to a Dragon Neo3 Body, since that's all the local store had. I wanted it now and not two weeks from now. That ran me $66. It also gave me a MG Lafette mount and an FG42 rifle.

I had a remaining unused pack of Sculpey III which I recall cost me $3. About 75% of that would be used to make a new head sculpt. Rather than give you the illusion that you can do this easily with progress photos, I'll just summarize the sculpting process. It would have slowed me down more than I'd like by taking progress photos every 20 minutes. The entire process already took me 3 hours.

I started off with a basic featureless head with the nose, face and eyes located. This is perhaps my 11th Sculpey based head, and certainly not my 13th overall, unfortunately, however fitting that would have been. From there, I used only an X-acto knife and a pair of tweezers to finish the sculpt. A proper sculptor would use actual tools, but when you're someone who builds shotguns out of cards, those look like decent tools. Worked for the first 10!

The progress went like this:
  1. Etch the hairline and ear positions for reference
  2. Flesh out the jawline, pad the eyebrows and hair (he has thick sideburns)
  3. Carve reference points for the mouth and eyes
  4. Rhinoplasty fever. I don't know why I did the nose first.
  5. Shaping the face depressions and mouth
  6. Fiddling with the mouth for an absurd amount of time
  7. Eyes. 
  8. Back to the nose and nostrils. Then more mouth work.
  9. Redo eyes because they looked weird.
  10. Ears and eyebrows.
  11. Dropped head on floor and have to redo the nose.
  12. Neck and rear hairline work
  13. Thicken regions of the head to be rounder where needed
  14. Wonder how terrible the head looks when painted
  15. Picking Golgo's nose with a knife, and fiddling with his mouth more
  16. Wonder more how bad this may turn out since it's starting to look like Steven Seagal and Spock mixed together
So, three hours passed and I baked the head for another hour, stopping midway while it was soft to smooth out the head where there was excess material. I safely could carve away without fear of crushing a delicate feature.

Some horrible painting skill later, I finished my very own Duke Togo. I feel his head looks a bit big, since he always has the appearance of a smaller head due to his wide build. Since I have the head finished and 9 bodies to swap him around....

Here's TEAM GOLGO 13! The least chatty group of mercenaries ever.

"..."

 
"..."

"..."

"..."

 "..."

 Now if I could get a model pack to swap out all the character faces with Duke Togo's for TF2, I might be bothered to play again.

Monday, May 04, 2009

Doing Some Remodeling

I'm loving the Dremel. Greatest tool I've bought. What once took several days of sanding and settling for mediocrity, now becomes several days of quick and decisive milling and shaping with great results. Admittedly, if you haven't thought so already, I've really half assed making Lia. Then again, that implies you've been around for a year to know who that refers to.

Nevertheless, I've reworked Lia's face a lot. No more conical point for a nose, no more odd cheekbone structure, no more round puffy face. Still the same messy hair. What wonders a Dremel does for sculpting. It's like giving an amish man power tools.

I've personally favored Hotaru over Lia for the reason of me not doing as well of a job on Lia as I could have. Lia has resulted in being the test subject for later improvements: shoulders, hips, hair. I didn't mind if Lia suffered some irreparable changes: gave me an excuse to fix her up properly.

I went ahead and remodeled her legs. They were ugly. Practically cylinders with some creases resulting from bad construction. However, when making Aelia, I developed a proper method of doing limbs by adding a sheet of Magic card for the skin to reinforce it. Dremel magic smoothed out the surface, making a much sturdier and smoother finish. Well, relatively smooth. 110lb cardstock isn't as magical as Magic in smoothness.

For some reason, I spontaneously realized that I knew how to braid hair. I remember learning how to braid hair at one point in my life around 2nd grade. Must have been the side effects of ingesting Magic: the Carcinogenic Dust. Magic powder sure does wonders for the mind! Why, just look at what I've made by inhaling that stuff in large quantities. Anyways, I went a bit overboard with the braiding and ended up with a Swiss Alps/southern looking Kris Mage. Since I don't have 1/6 scale hair decor, electrical wire will suffice.

I haven't taken a lot of photos of Lia ever. She was just too unphotogenic back then. Now, she's my new favorite photo model. Too bad I've forced her into permanent Kris Mage status due to a lack of clothing variety.

I've also modified Hotaru's face, but that one didn't end up as great as Lia's. I'll keep working on that. After these cleanups are out of the way, I'll get back to working on Aelia's armor.

Sunday, April 19, 2009

This Week's Project: A Less Creepy Looking Head

Arguably, Aelia's head sculpt is one ugly one. I could have done a lot better than that. Rather than deal with an ugly face, let's finally move away from the Mizuirogakuen Ruri head template and onto better prospects. But where to start? I first need to find a suitable model to base mine off of. The plan was to create a duplicate of the head entirely by coating it with paper and flattening it out into a template. Luckily, I had some assistance in securing a volunteer.

Ze Doktor eez een!

After a few stabs later... we've secured our base to model a new head off of. Behold, the miracles of science... and malice.
The usual process of paper and tape shell making begins. I've made sure to capture as many details on the face as possible but not too many to render the template complicated. The Ruri template consists of four elements, each with a simple assembly. I ended up with three with a slightly complicated assembly.

Clockwise from top left: Original shell, templates for the new head, assembled head, and the original base.

I ended up spending a week working on the revised head sculpt, then entirely scrapping it and redoing it. The third from the left was the one I was previously using for Aelia. The fourth from the left was too fat and reminded me of Jimmy Carr. I have no idea why he came to mind. The fifth one was actually a test build to get the scaling right. Oddly, the test builds I went through were the better looking of the lot. I aimed to replicate the test build with the second try, pictured on the far right.
So far, this is the current end result. I'm still not happy with it. The nose needs rework. For those who have noticed, this build required a lot of after-work on it than simply cutting and gluing the pieces together. I added three to four layers of 110lb cardstock over underdeveloped regions and taking a Dremel to it to get the right shape. Without a Dremel, this would have ended up very bad looking or have taken a lot of manual sanding and X-acto knife tricks.

I do however like how the eyes and eyebrows came out. The mouth needs work. Unfortunately, in her armor, she looks really fat. It's not as bad now with this thinner head, but the first one was atrocious. Practically heavy weapons girl. I'll properly finish the head sometime this week, then return to constructing the armor.

Sunday, March 15, 2009

This Weekend's Project: Two Pointy Heads

I've always hated three parts of the doll making process:
  1. Joint cap covers for the screws
  2. Making the ball joints work
  3. Making the head
The head's a pain to do since you want it to look nice, and it gives the final product its character. I've gotten extra picky with how the head went this time, since I'm trying to go for something similar to an established character design. I went through three tries before settling on one I liked. As usual, I settled on the old Ruri template although I now have newer alternatives. (Note: the old headmaking post is now out of date. This will update the newer techniques.)

After tracing the template onto some Muck Rats, I sanded the pieces down lightly to remove the shiny varnish. Each part was then assembled by placing printer paper strips on the inner side. I did the face as one single part, and the back of the head as two parts: upper and lower. This time, I was zealous with the pre-sanding to remove the rough edges. I covered the seams with more printer paper strips and sanded those down by hand. I found that coating the paper with a thin layer of glue before sanding with a Dremel also gets nice results, as the paper holds its integrity better.
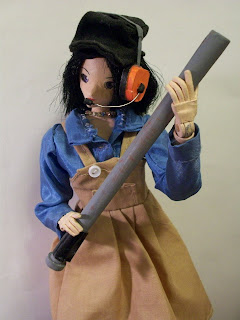
Here are some of the development stages. From the left: First iteration, deemed too pointy and narrow; Second iteration, deemed too fat and odd shaped; test build from Moekami's newer models, deemed unusable due to extra pointy elements; Third iteration, the final build.

The difference from the first two iterations is the addition of extra mass to round out the head. This was done with layering 110lb cardstock over the regions needed to bulk up and carefully grinding them down with a Dremel. Printer paper works well for concealing small blemishes and smoothing out transitions made too rough with the Dremel. The third time, I got something I liked.

I didn't succeed in finding a hair donor in time. Therefore, Aelia has short white cardstock hair for the time being. They're quite pointy. I opted for a different hair technique than the first iterations of hair. Her eyebrows are actually Magic: the Gathering cards. Decided to try glue-on eyebrows this time. Aelia suffers from the problem of always looking unhappy when you look down on her. Then again, you'd be too.

This is the reason why this revision was called Aelia. I'm actually going to attempt to make her as Aelia from Valkyrie Profile, the green armored polearm wielding character. This, is her spearhead, which consumed about 6 MtG cards. There's a lot of details that I tried my best to capture. A Dremel was used to grind out the rough shapes and curves, and the little grooves were hand cut with an X-Acto knife. The curved coil consists of four strips of Magic card, 5mm wide. The strength of the coil has yet to be tested. It should be noted that Aelia's spear in the concept art has the coil unsupported from end to end, so it is a very unstable means of attaching the spearhead to the shaft. It would likely flex and have a higher chance of breaking, as it will behave like a spring than a solid shaft.

The shaft consists of two bamboo sticks linked together at the second hand hold to provide an overall shaft length of 28cm. The grip regions are rolls of 110lb cardstock. I'll be adding details to the individual sections once I've figured out the spearhead.

Unfortunately, the bamboo sticks aren't perfectly straight. Not that you can tell easily.

Aelia's body isn't the delicate, thin frame used for Hotaru and Lia, but the more stocky build BBI's doll has. It's still compatible with all the existing elements made for Hotaru. I'll have to field test her joint stiffness over the next month to see if the new joint construction methods and layout can support the added mass and the usual fatigue and wear.

Sunday, March 08, 2009

This Weekend's Project: Fleshing Out A Skeleton

Well, another week, another update. This week, I've spent a good deal of time inhaling more tasty airborne carcinogens to flesh out Aelia. Right now, she's missing proper feet, her rest of her head, and elbow covers. For the time being, rather than show off her incomplete scalp, I've dug up an antiquated hair model from long ago, and surprisingly, it fits. She has an odd appearance to her face that I need to identify, rectify and execute. I think it's the wide eyes making her look like she's scared of Hotaru and her newly stolen bat.

I actually need to redo the bat. It's quite off in shape and it's covered with red marks for when I was testing the scout's BONK! action button by hitting a dispenser repeatedly.

Aelia's sporting the Shenhua hairdo I made two years ago back when I was attempting to make Shenhua. Back heavy and impractical, it's all I have to offer her until I find a proper transplant donor for hair. I had issues with her head sculpt this week, so I decided to complete her face to see how she looks near complete. A blank head's also undeniably creepy looking, especially one with empty eye sockets.

Rather than make this post completely devoid of content from the farce of a "show and tell" it started off as, here's something useful. Here's the construction progress of the hands. I've actually never properly documented it.

The process uses regular thin electrical wire of some unknown gage with 25mm x 30mm strips of printer paper rolled around them to form the fingers. A 6x6x8mm 4 walled box connects the fingers to the stub. I trimmed the fingers down to a max length of 25mm counting the root, which gives about 20mm of protruding finger to work with. I layered some 110 lb cardstock over certain portions to flesh it out, and carved them down with a Dremel. Cheating, but it yields a nice shape unattainable with just folding and cutting. I may have to update everyone's hands to this newer design.

Monday, January 19, 2009

A Long Overdue Medic Update

When you do something for the first time, usually it tends to suck. Most of the people who look at the stuff I make tend to not have the capability to do what I can do, and I think they are afraid to point out the flaws for two main reasons:

1) They can't challenge the result, fearing the dreaded, childish reply of "let's see YOU do better".

2) They don't know what to compare it to.

Personally, I welcome criticism, as I tend to not see some flaws right away, and like to know others actually see what I see as "obvious problems". Positive feedback doesn't do a lot of good when you're trying to improve. Anyways, to get back on point, the first Team Fortress 2 doll I created was the Medic. I've made a total of 6 head sculpts in my entire life out of clay before this:
  • My BC Calculus teacher, done with kneaded eraser (done during the class period)
  • My AP Physics teacher, also done with kneaded eraser (also done during the class period)
  • Two characters from the TV series "South Park" in grade school
  • Two characters from the Japanese anime "Dragonball Z" out of some really weird clay during grade school
Considering I've had about four years in between "attempts", I can't really say how much I've improved after each time. Not to mention, I spent about maybe less than an hour on each attempt. Well, the Medic head sculpt was my 7th head sculpt, and took about a good three hours.

Man, it looked terrible to me after I noticed what I did wrong. I've wanted to redo the head now that I have a better idea on doing these sculpts and what I did wrong. Let's look at the old head, and the new and improved replacement Medic head!

First off, the replacement one gets the glasses since he's now the "official" head I'll be using. It'll help for you to validate point #2 I made previously about not being able to compare it with the reference later. As you can tell, the new head is smaller, as I made the first one at roughly 120% the size. We have a reduced nose, more of a scowl, less beady eyes, and thicker eyebrows.


What the second one really improves on is the little details. The hair isn't flat anymore, but has a little curl as it should be. There's more pronounced cheekbones and facial lines. The main goal for me was to scale the head down to the right size; all these other changes resulted from reanalyzing the source material. Speaking of such, sculpting a head requires more than the basic three views needed for an engineering drawing. It needs quite a lot of views, actually.


This image compiles as many relevant shots of the head as I needed to complete the head sculpt. Side, front, top, along with some angled shots. The problem with sculpting the head for me was the fact that I can't easily see the flaws til after I paint the head. The shadows become more pronounced, and I can see what parts were done badly (eyes, nose, and those ridiculously pain do to ears...). Maybe the 11th time around, I'll figure out how to resolve that issue. Until then, I'll have to figure out where to store these extra heads. The wine glass on my desk is very crowded.
We're going to need a bigger glass.

Sunday, October 12, 2008

This Weekend's Project: The Incredible Hulking Heavy

Epoxy is heavy stuff. So is cardstock. Surprisingly, crumpled aluminum foil isn't. Combine them together, and you get something durable and thick.
In this stage of construction, I've covered the cardstock and Magic cards with a somewhat thin layer of Kneadatite modeling epoxy, of a thickness of around a millimeter or less. To smooth the arms out, I used a bit more to create rounded elements for the elbow and shoulder region. The epoxy is a darker green than depicted, with the lighter elements being the result of sanding it down smooth. Well, not smooth as I'd like, but better than lumpy.

The sanding allows me to see which regions are uneven and need more epoxy. Sanding it down allows the primer to go on better, which is important since I doubt my paints can cover the hideous shade of green. There was a lot of hacking away the aluminum foil for the hands to get it to the right shape, and I'll be hacking more off this week to get the desired range of motion.

Buying small packs of sculpey is better than buying the giant box at this stage. For $2, you get enough to sculpt a head, and the rest can be easily squandered by making accessories. The box initially was reasonable considering the amount of heads I needed to sculpt, but the poor storage conditions negated prolonged usefulness. I unfortunately found some cracks during baking, but I can easily solve that by hiding it with paint. Nothing too severe. However, 4 non-consecutive hours of baking at 275F did not darken the sculpey as much as I'd like it to be, signifying the rock solid state. I'll paint it once I get the arms done, if ever.

Checklist for what needs to be done:
  • Shirt
  • Vest
  • Belt and ammo pouch
  • Gloves
  • Ammo link belt
  • Sasha, the minigun
I'd easily get it done if I wasn't a lazy bum with the arms.

Saturday, September 13, 2008

Weekend Project: Things That Start With "S"

Today's incidental theme is stuff that starts with "S" that aren't going anywhere. The Spy's gloves stand at the sanding and priming stage, sitting somewhere on a shelf, slowly setting. His suit still stands semi-complete, sans stripes. Sometime, I'll sew some stripes using some similar colored stitching.

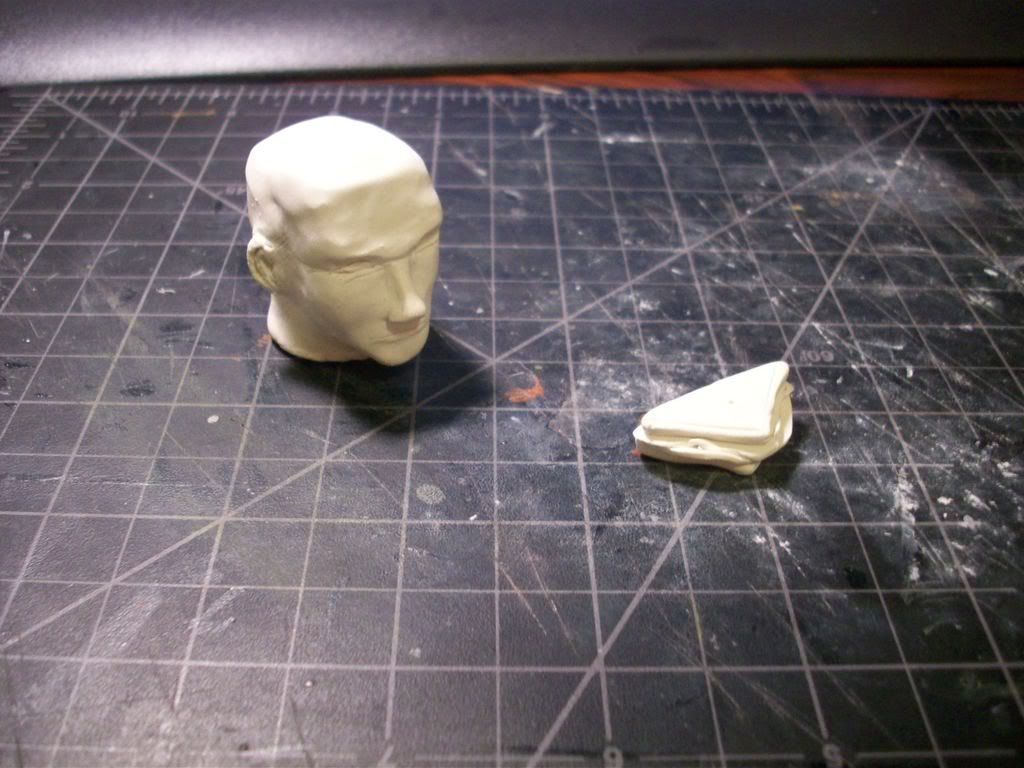
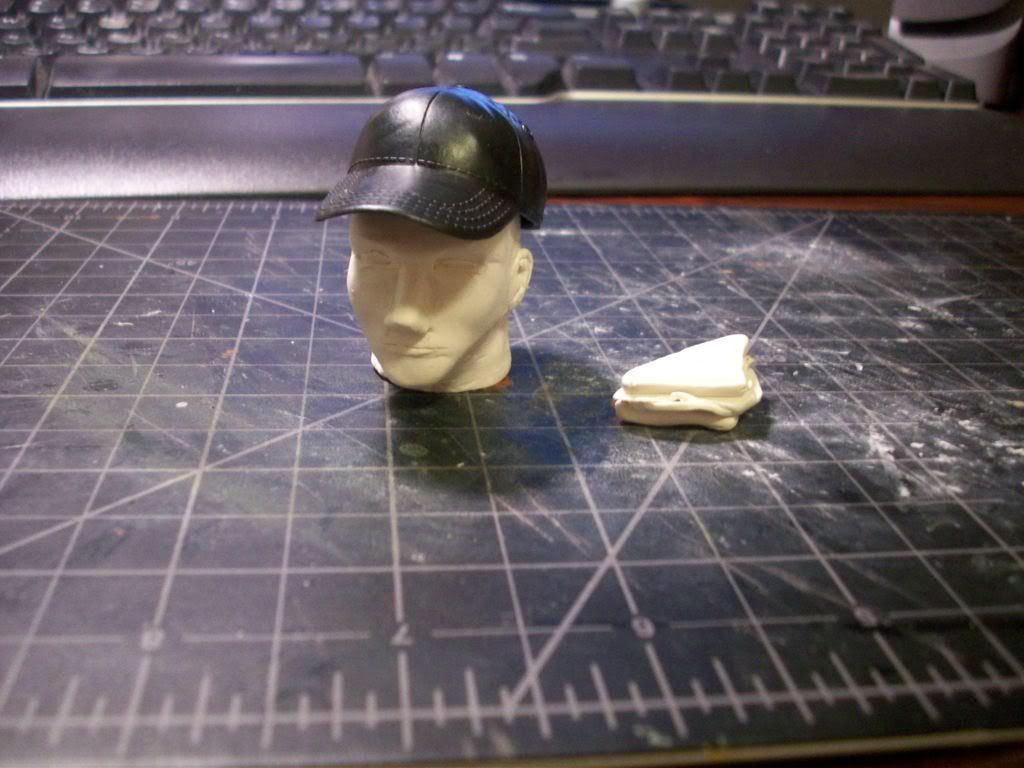
The stove isn't starting, so I can't bake the sculpey to finish off the head sculpt. This skinny head sculpt is for the Scout, having now decapitated Shia LaBeouf. Since I'm waiting for the weather to clear for my gas stove to regain the ability to spark on again, I also made the Sandvich. Not a very stupendous or difficult sculpt, but I had leftover sculpey that wasn't solid from the humidity. It'll join the Sniper coffee mug in the accessories pile.

Here's the Scout with his cap, stolen from a Soldiers of the World figure. The cap's the wrong shape and style, so I should sew a proper one. Can't do that without the head properly cured though.

Progress as it comes.

Sunday, August 17, 2008

Making head-way engineering an Engineer head

I've been practically innundated with a single question on how I sculpt the heads for these Team Fortress 2 figures. Time to shed some light on what goes on during the 2-3 hour span a head sculpt gets done.

As usual, I start off with decapitating a doll. A 110 lb cardstock tube gets molded around the attachment point, serving as the base for the neck.


I put a coating of sculpey around and in the top of the cylinder. Sculpey doesn't stick to anything but sculpey, so I recommend using very lightly kneaded sculpey so it's still solid, or finding some means of making the cylinder sticky like mixing in another clay. On the left of the cylinder, there's a piece that has two prongs coming out the right. What I like to do next is make a jaw, and as you will see, that piece shapes out the side profile of the face.


Using the former head as reference, I place some clay where the nose, eye sockets, eyebrows and ears will go. This helps determine spatially what I need to do. These heads are regular, so these landmarks will be valid for all human heads.


Now for the creepy stalker headshot gallery. Every sculptor needs a good set of views of what they're sculpting. I've added a general set of features to the face, including a line for the mouth and general eye sockets for locational purposes. I tend to play with the shape of the nose now, so I get a feel of where the rest of the facial features lie in relation to it.


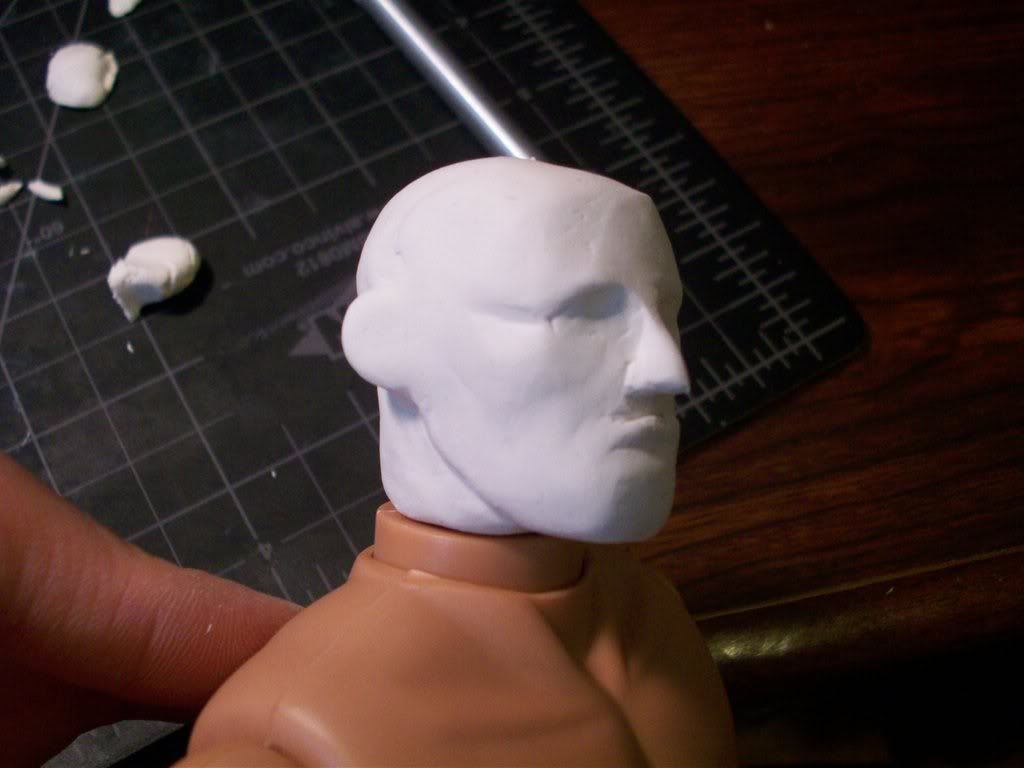
Here, I've added subtle depressions and elements to round out the face based on the headshot gallery. The chin, lips and cheekbones are taking shape now. Normally, I'd carve out a faint outline for the eyes, but the Engineer has goggles, making that wasted.


Bit more material and X-acto knife cutting, I reach this stage where the face has 70-80% of the features defined.


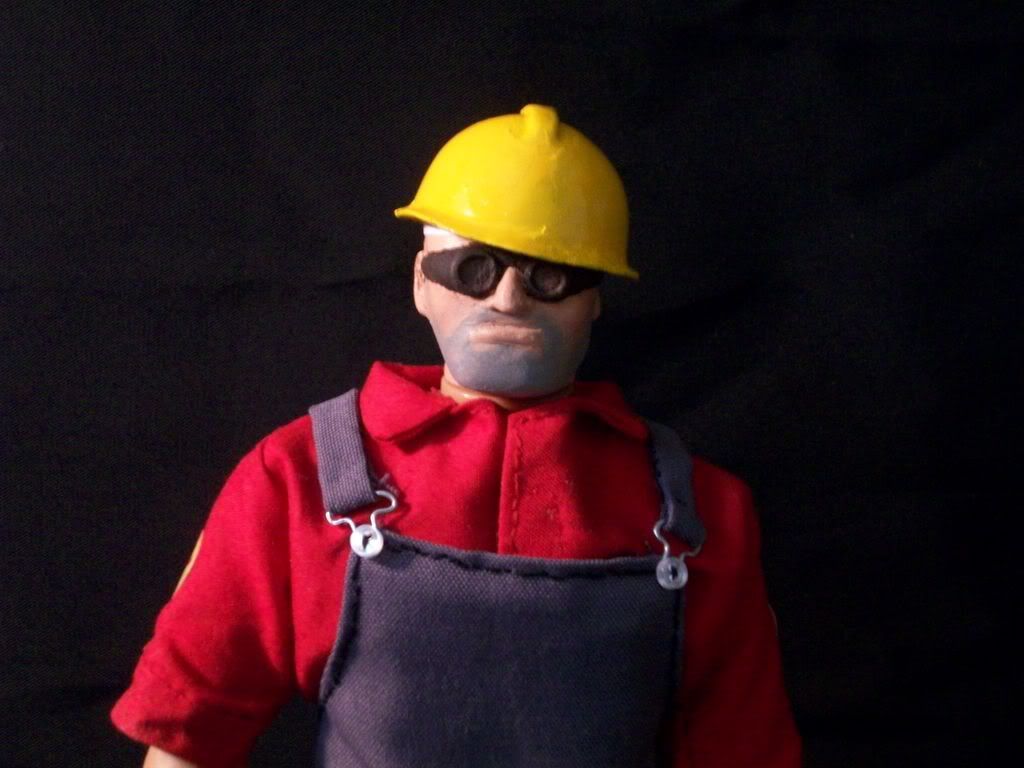
 Modding a regular soldier helmet to be an engineer hat. Soldier helmets are taller and therefore need some sawing. Now to make the helmet lip and top protrusion.


Overpriced Games Workshop epoxy ($8) is a bit flexible when dry and thinly applied, and sticks well. If not, there's always Loc-tite. The shop guy told me to keep my tools wet so the green stuff doesn't stick on them. I suggest having a cup of water nearby to wet your fingers.


A bit of baking in the oven for 2 hours at 275 degrees Fahrenheit. Note the reddish color. That's a sign of the sculpey being solid. Really good and solid sculpey would look real red, not this half-assed pink I settled for.

After some painting, this is what you get. To do beard stubble, I do a direct layer of grey onto the face, then before it dries, apply a thin portrait tone/flesh color layer on it. Since the over layer is lighter, it doesn't completely cover up the grey, making a lighter, stubbled beard appearance.

However, in the event your head doesn't have goggles or something covering his eyes, you'll have to do some eye painting.

Jin Saotome has a good tutorial that I half-assed (as usual) to do the Demoman's eye. I did the first half or so, since I'm not too keen on that realistic looking of an eye. Also, I have about the worst brush selection and miniature painting skill for a modeler. For people who aren't rubbish at painting miniatures or have surgeon hands, this will be a bit easier and better looking for you. I think I did the best job so far on the Demoman, since he had only one eye and I tried on that one. The Soldier and Sniper have stuff blocking their eyes, so I had some leeway with cutting corners.

That in essence is the entire sculpting process. Takes at least 2 hours to sculpt, and about 4-5 hours to get to the painting stage. You may take longer, depending on how great your spatial skills and ability to work with small details in clay are.