There is a law to keep in mind when selecting paints. The stronger the fumes it gives off, the more awesome the color/quality of paint it is. Flat grey? Practically odorless. But copper? Smells strong, makes you have headaches, and comes with a warning label regarding carcinogenic effects! We all know the dangerous stuff is the fun stuff in life.
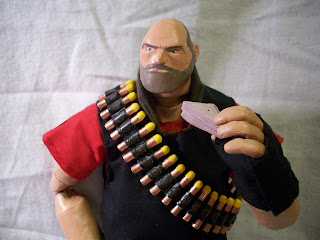
Well, anyways, the Heavy action figure is now finished, somewhat. Still missing some minor details, but the general details are there. The ammo links on his vest are now done. I used Testors Enamel paint. Copper for the bullet casings, yellow for the tips, and a mix of tan and rubber for the circular depressions on the belt. What mix? It's called "wing it". Probably more tan than rubber.
Well, after about two months of not really trying, here we are. Time for a cost analysis.
Sculpey for head: $3
Fabric (pants, vest, shirt, $1 apiece): $3
Epoxy for the hands: $17
Aluminum foil for the hands: $3 new, $0 if stolen from your kitchen
Paints ($10 for acrylics, ~$7 for enamels)
Cardstock: $~$6-7 a pack, new
Magic: The Gathering cards (about 10 used): $3.99 (one booster pack), $0 if "resourcefully liberated" from your friends
Soldiers of the World figure: ($5 on sale/clearance, $25 retail)
Saw (for cutting the figure): $15
Plumber's epoxy (regluing the figure): $4
Velcro: $2 ($0 if salvaged from the base figure's clothes)
Glue: $4 (elmer's and/or Loctite)
Total cost from scratch: ~$100 (wow, this was more than I was expecting)
My actual cost: ~$52 (many materials were shared with other projects)
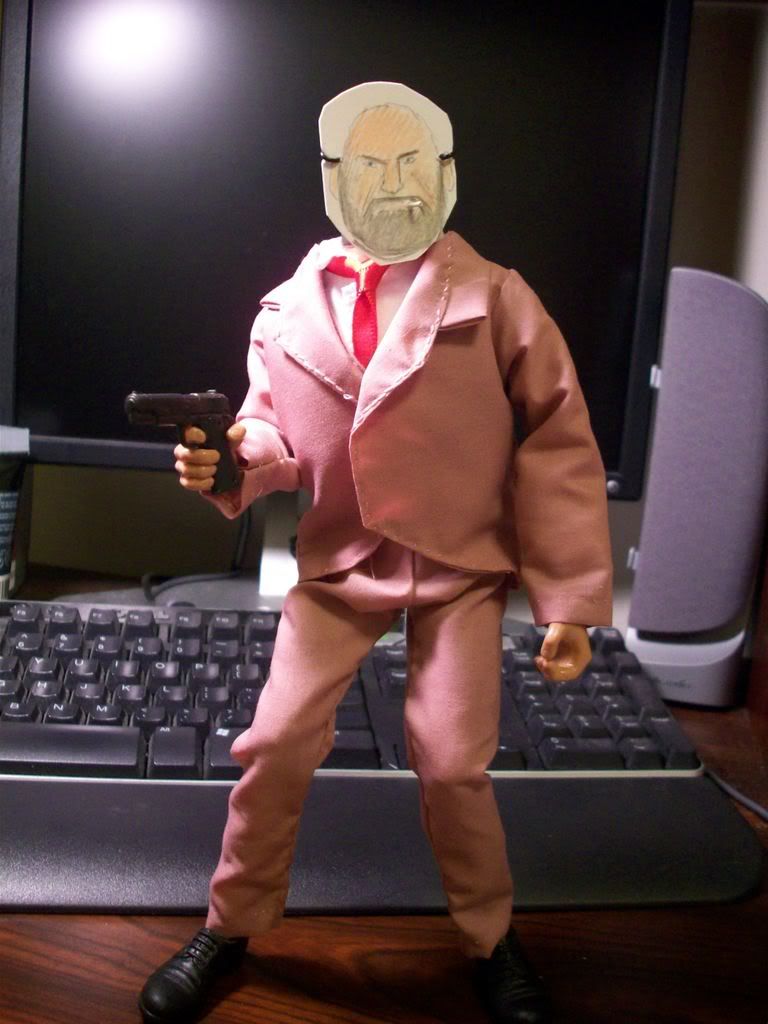
So far, this was the first "real" custom job I've done. Not just a simple head swap, but actually modifying the base structure to get something distinctly different. Along with the fact that it's my first fat guy figure, I'm pleased with the fact that it's not horribly bad. Probably will never make another one of these ever again, but then again, I said the same thing about Hotaru.

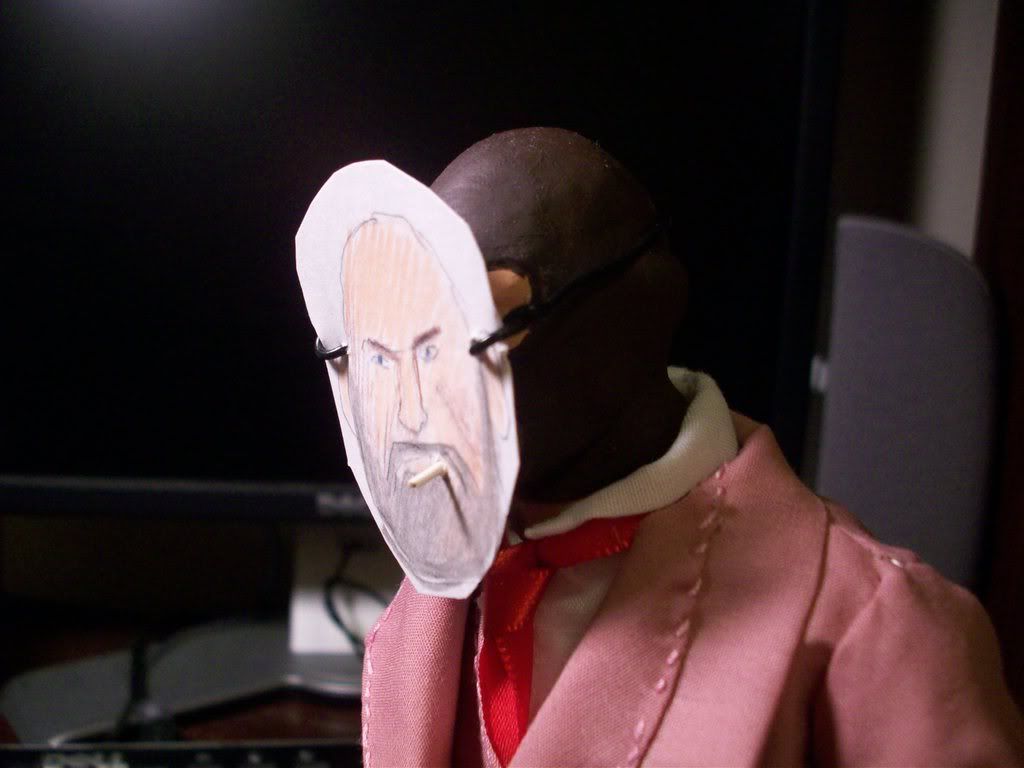
 They kinda look like bad afros. No wonder why it's not supposed to be solid black.


